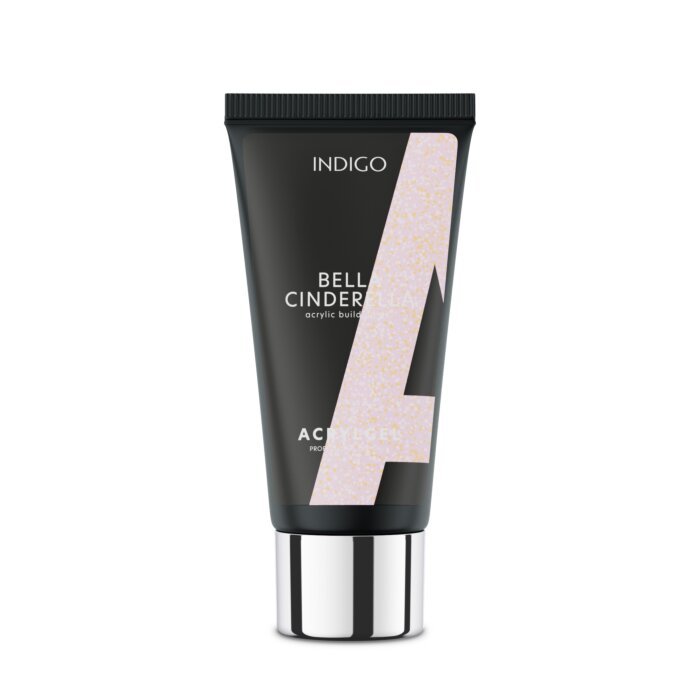
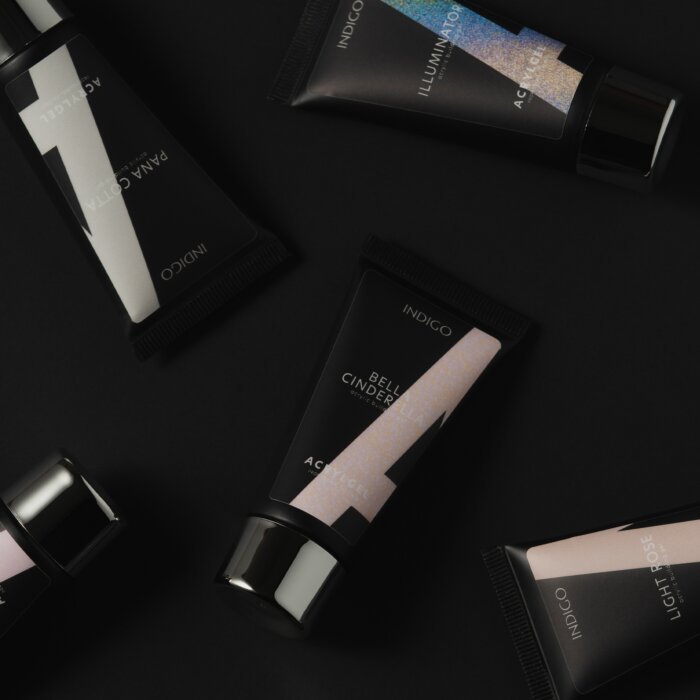
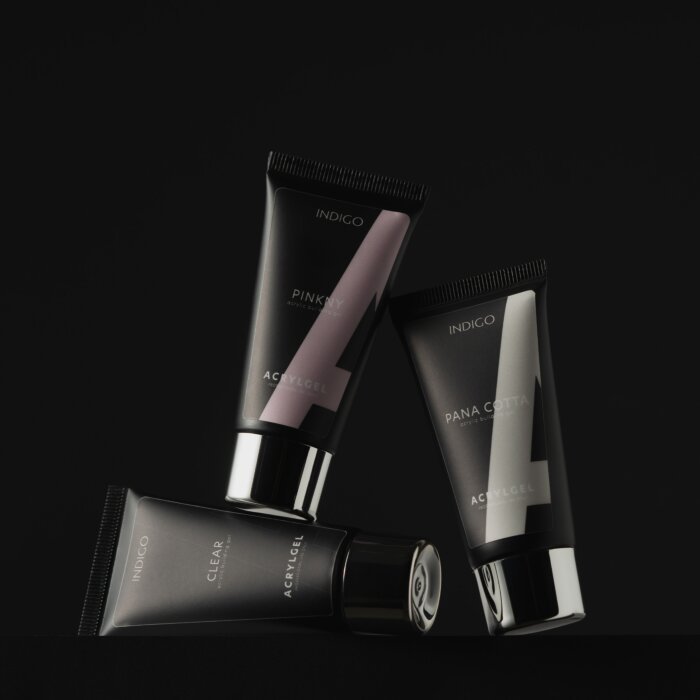
Acrylgel Bella Cinderella - 30 G
-

Secured payment Safe online transactions
-

Fast shipping Delivery up to 4 working days
Table of contents
Description
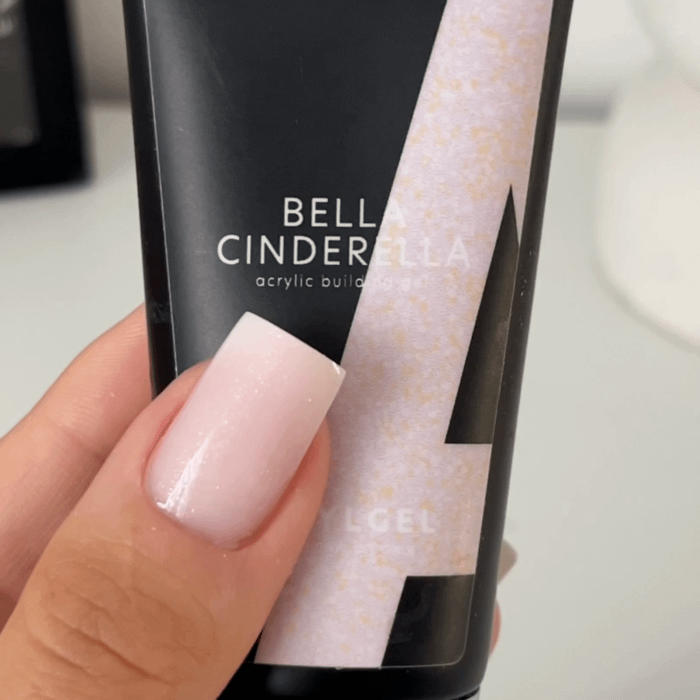
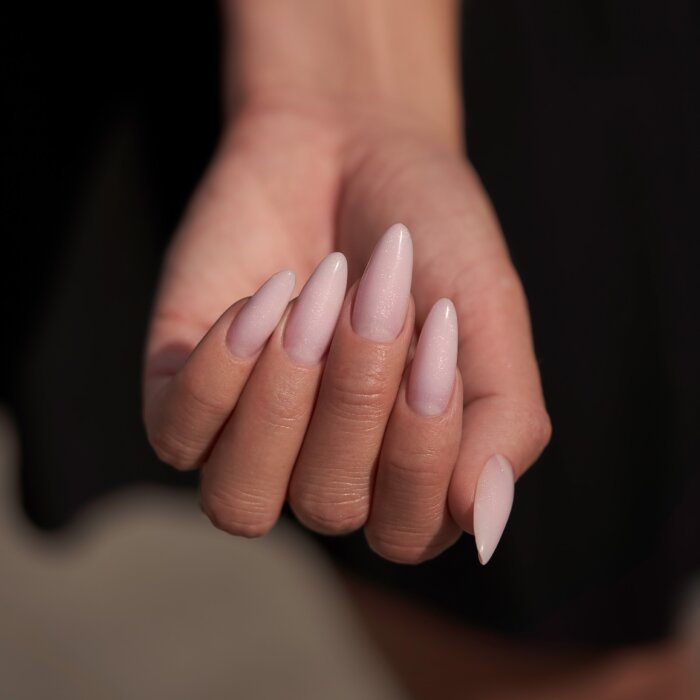
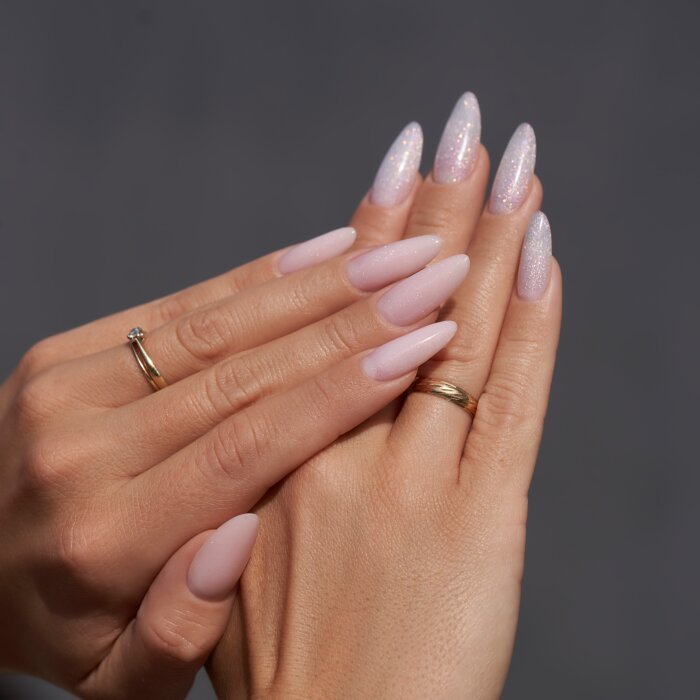
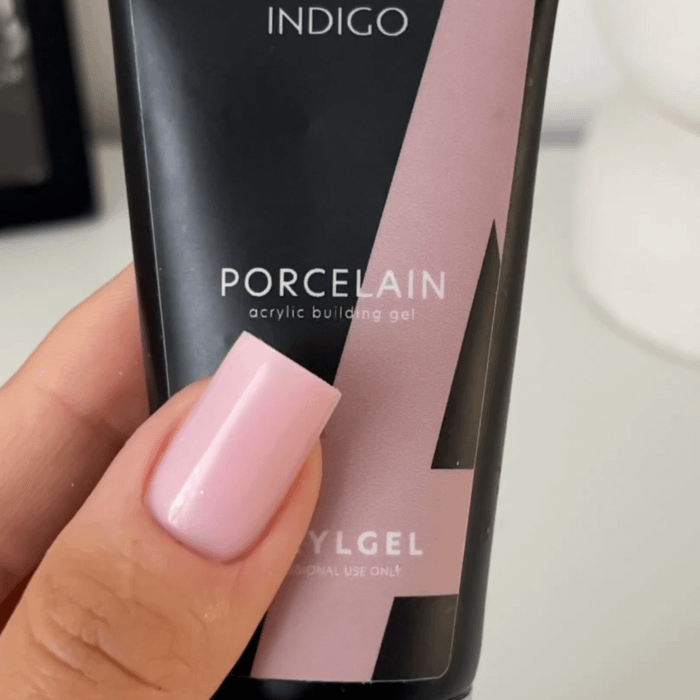
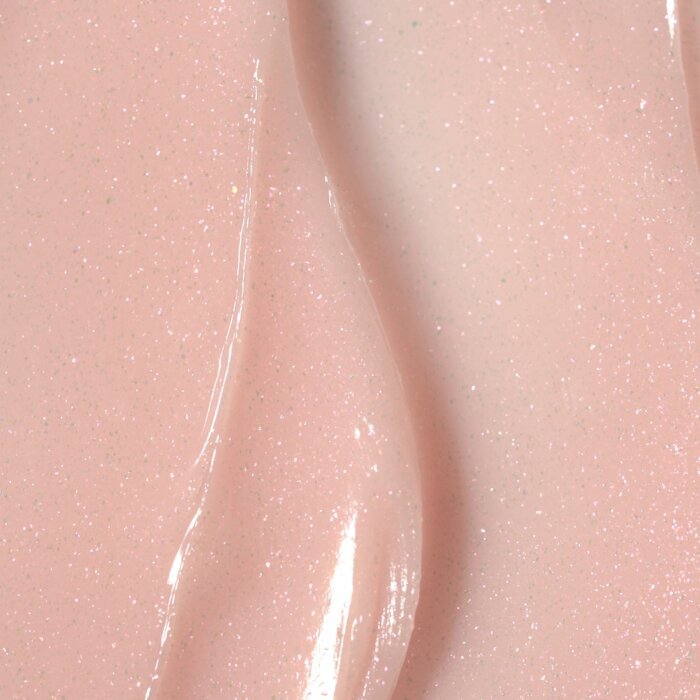
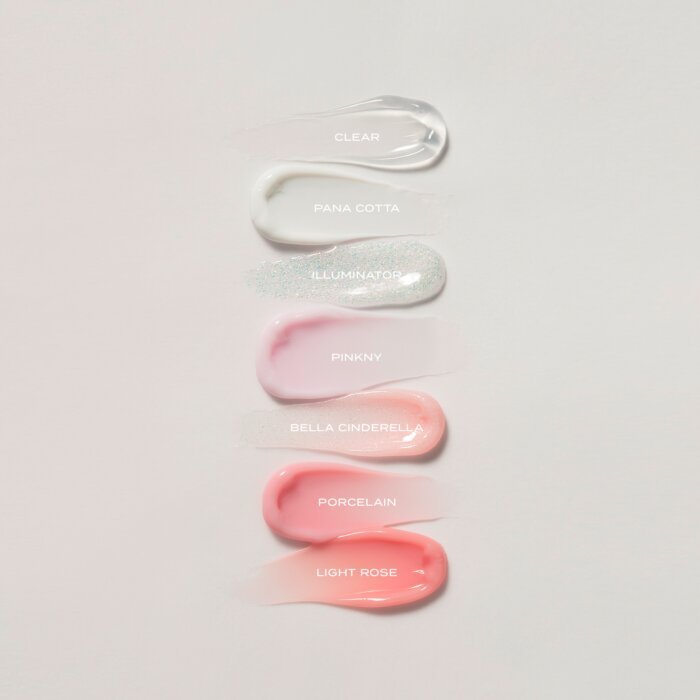
Bella Cinderella acrylic gel in a light pink color with a delicate pink particle will be perfect for any styling - regardless of whether it will be working on upper forms, extending on a classic template, hardening a natural nail plate, filling a gap-also in a pedicure or a phenomenal Fantasy French.The shimmering particles make Bella Cinderella look beautiful on its own, covered only with your favorite top, but it can also be used as a basis for further styling, e.g. French, babyboomer or wedding nails.It works perfectly in combination with various decorations, e.g. Princess Nails or Fantasy French.The thick consistency means that even on warm days you will have full control over the product.This is a product created for beginner stylists who need more time to model the perfect nail shape because it does not flood the cuticles.Indigo acrylic gels lay down softly and stay exactly where the stylist applied them.
A tube squeezer for free with every Acrylic Gel. Add to basket
Colour:
Pink
Shade:
Light pink with pink flecks
CURING TIME
|
Type and power of the lamp |
Curing time of 1 layer |
|---|---|
|
MULTILED Lamp 36 W |
60s |
Product attributes
| Consistency | dense |
|---|---|
| Coverage | 65% |
| Dispersion layer | current |
Benefits
- thick acrylic gel allows for smoother work and precise application regardless of the ambient temperature
- reduced polymerisation temperature for comfortable styling even with more damaged or sensitive plates
- does not run off the plate, does not flood the cuticles and is soft under the brush
- ideal for beginner nail stylists due to its ability to model the shape of the nail for a long time
- thick consistency allows for perfect shaping of the upper nail arch
- perfect for extensions, touch-ups, natural plate hardening and plate superstructure
- also suitable for construction french as well as for fantasy french
- very good covering properties
- can be used as a stand-alone styling product-with an additional layer of topcoat
- ideally suited as an undercoat for light colours and for pastels and neon to enhance their colour
- sawing kept to a minimum
- express styling
Application tips
Stencil-based extensions:
- Wash and disinfect hands, then put on gloves.
- Disinfect client's hands, assess condition of both client's hands and nails
- Clean the tile, push back the cuticles with a hoof or wooden stick.
- Shorten nails as much as possible and round with a 180-grade file.
- Grind the tile with a buffer or 100/180 grit file.
- Clean the plate of dust with a soft brush
- Degrease the nail with a cotton swab soaked in Cleaner No. 1.
- Apply a suitable primer (Acid Free Primer or Acid Primer).
- Apply a thin layer of the chosen base to the natural plate and cure for 30 seconds in a MultiLed lamp.
- Fit and underlay template
- Spread a small amount of Take Your Time or Primo Ultimo gel on the plate and stencil and create a skeleton in the desired free edge shape. Create in the Multiled lamp 30-60 seconds. The skeleton is not obligatory, you can also apply the acrylic gel on the stencil.
- Remove the stencil carefully
- Apply a portion of your chosen acrylic gel to the plate and spread it with the brush onto the free edge as well. Remember to build up correctly and include the creation of a proper top arch, apex and hairline. From time to time, moisten the brush in the Wipe Off cleanser so that it doesn't stick to the paste. Cure in a multilight, depending on thickness and colour chosen: 30-90 seconds.
- Repeat if necessary, taking into account the correct structure of the nail extension and cure in the lamp.
- Remove the inhibitory (sticky) layer with a cotton swab soaked in Wipe Off Cleaner
- Shape the shape and curves of the nails using a 180/240 grit file
- You can cover your nails with just a top coat - your choice of hybrid or gel top, but you can also apply your chosen hybrid polish colour to the matted surface.
- Once the 2 coats of colour have been applied and cured, top with your favourite top coat and cure in the lamp for 30-60 seconds
- If the product requires it, remove the inhibition layer with a cotton swab soaked in Shea Super Shine Cleaner
- Finally, you can polish your nails with a dry dust-free swab to make them look even more beautiful. You will then hear the characteristic creaking sound
Hardening of the natural plate:
- Wash and disinfect hands, then put on gloves
- Disinfect client's hands, assess condition of both client's hands and nails
- Clean the tile, push back the cuticles with a hoof or wooden stick
- Work out the shape of the free edge with a 180-grit file
- Grind the tile with a buffer or 100/180 grit file
- Clean the plate of dust with a soft brush
- Degrease the nail with a cotton swab soaked in Cleaner No 1
- Apply a suitable primer (Acid Free Primer or Acid Primer)
- Apply a thin layer of Protein Base to the natural plate and cure for 30 seconds in a Multiled lamp
- Apply a portion of your chosen acrylic gel to the plate and spread with a brush. Be sure to build up correctly and take care to create the correct top arch, apex and hairline. From time to time, moisten the brush in the Wipe Off cleanser so that it doesn't stick to the paste. Keep an eye on the brush to make sure it is not too wet. Cure in a multiled lamp, depending on thickness and colour chosen: 30-90 seconds.
- Remove the inhibitory (sticky) layer with a cotton swab soaked in Wipe Off Cleaner
- Use a 180/240 or 100/180 grit file to sculpt the shape and curves of the nail.
- You can cover your nails with just a top coat-your choice of hybrid or gel top, but you can also apply your chosen hybrid polish colour to the matted surface
- Once the 2 coats of colour have been applied and cured, top with your favourite top coat and cure in the lamp for 30-60 seconds
- If the product requires it, remove the inhibition layer with a cotton swab soaked in Shea Super Shine Cleaner
- Finally, you can polish your nails with a dry dust-free swab to make your nails look even more beautiful. You will then hear the characteristic creaking sound
Composition
Methyl Methacrylate Crosspolymer, Bis-HEMA Polyneopentyl Glycol Adipate/IPDI Copolymer, Acrylates Copolymer, Isobornyl Acrylate, Silica, Trimethylbenzoyl Diphenylphosphine Oxide, Dimethicone, Mica +/- CI 77891, CI 77499, CI 77266, CI 77492, CI 45410, CI 45380, CI 15850, CI 77491, CI 45370, CI 77742, CI 42090, CI 77288, CI 77007, CI 19140, CI 47005, CI 74260Warnings
For professional use only. Read directions for use carefully. Avoid skin contact. May cause an allergic reaction. Do not inhale. Use a protective mask and gloves when applying the product. Keep out of reach of children.Responsible Person
Indigo Nails sp. z o.o.
Recently viewed products


