A matte surface on nails is fashionable at the moment. In a few steps we’ll explain how to achieve it and which products to use to make a matte hybrid manicure look perfect.
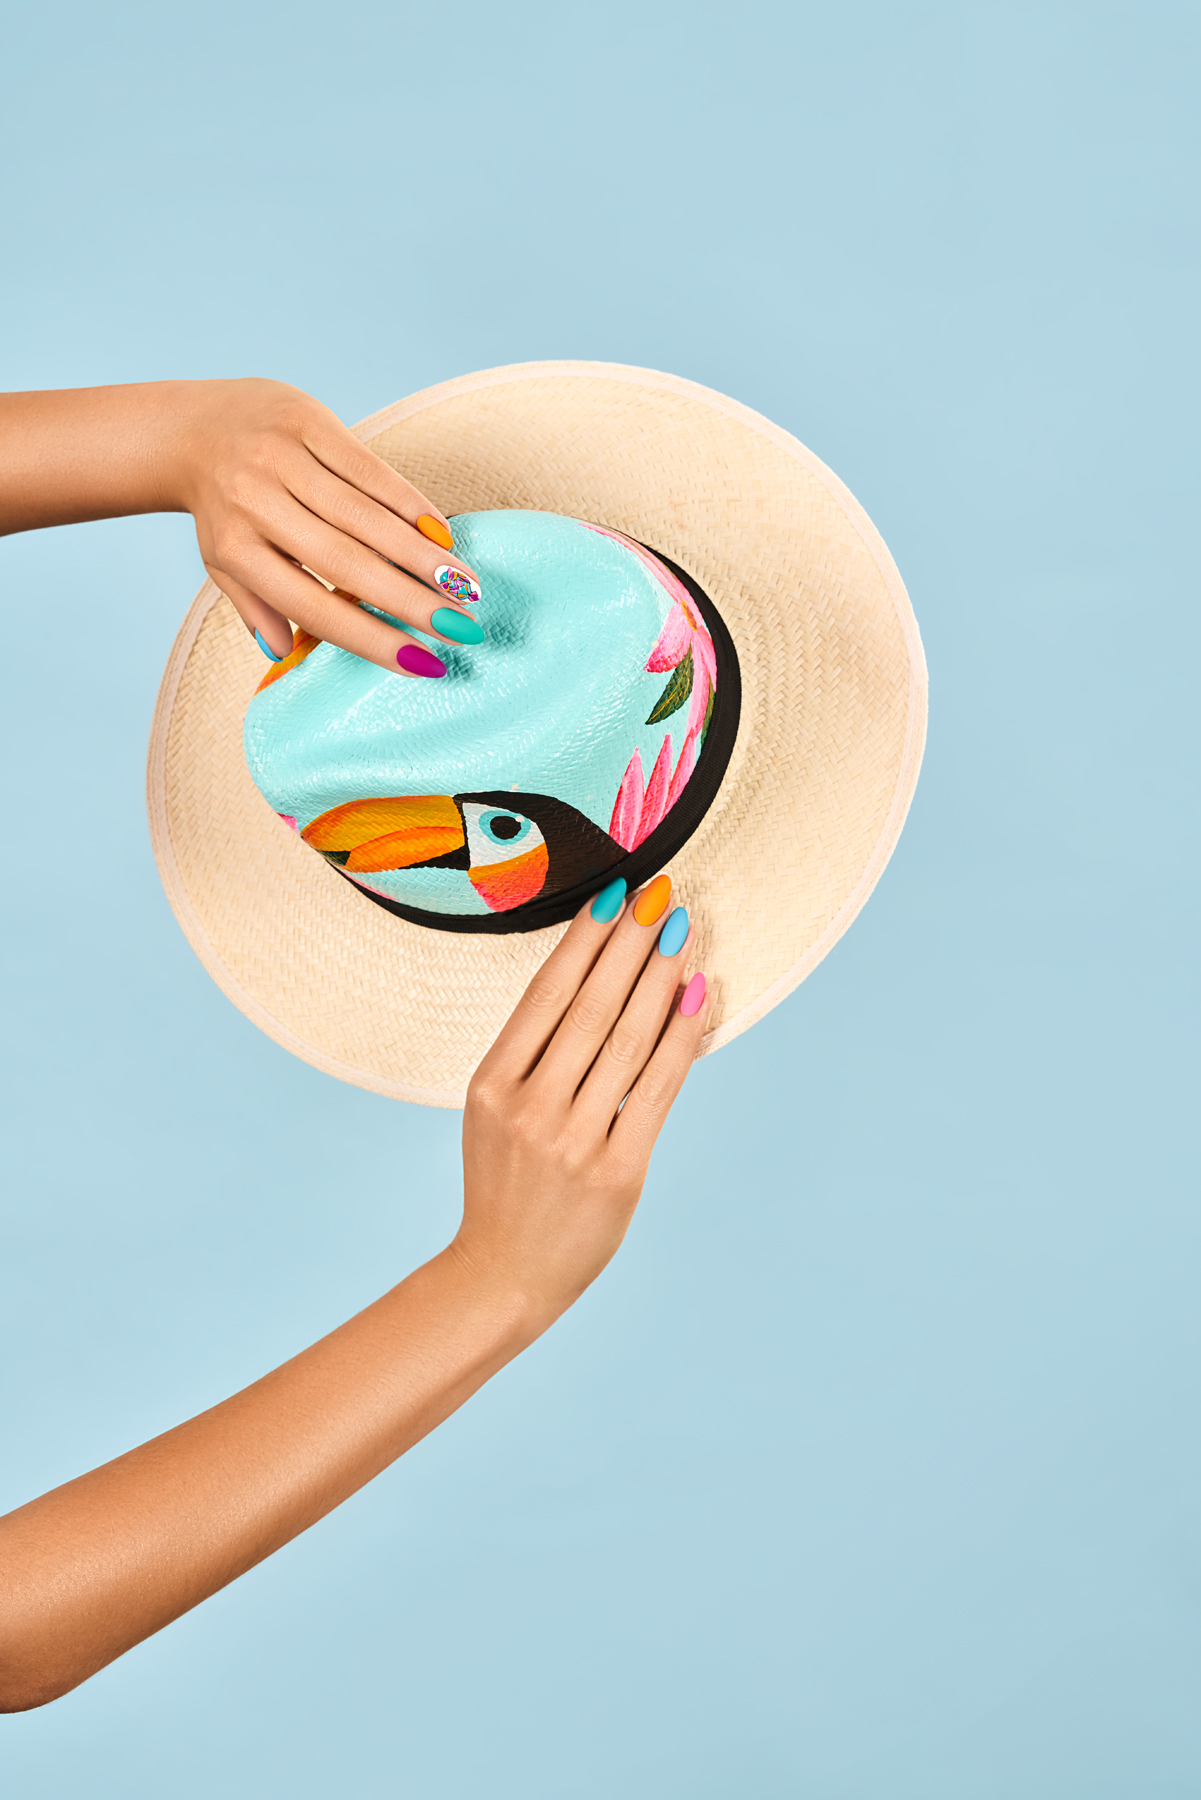
Highly impressive, elegant and highlighting the colour in a beautiful way – it’s not surprising that matte hybrid manicure has become so popular. Sophisticated graphite, fashionable denim shades, energetic red and delicate nude nails – regardless of the colour scheme, matte hybrid manicure always makes an impression. It looks subtle, which is why it’s an ideal background for holiday patterns as well as shiny carnival decorations. For the matte effect to look perfect and be durable, just follow these few tips below:
Matte hybrid manicure – step 1: preparation
1. When preparing nails for matte hybrid nail polish, we first have to shape and evenly matte the nail plate (depending on the level of unevenness we recommend a 100/180 sanding block or a 180 buffer).
2. Then, thoroughly degrease the nails (preferably with a dust-free wadding swab soaked in a little bit of our classic Cleaner).
Matte hybrid manicure – step 2: base application
3. To improve the durability of a hybrid manicure we use a primer, which binds the plate to the base very firmly. Gentle Free Acid Primer usually works best, because it doesn’t have a negative impact even on a damaged plate. The exception is excessively sweaty or oily nails (which happens e.g. in case of hormonal changes) – then the stronger Acid Primer will be the better choice. 4. We apply the base to the needs of the client after 40-60 seconds. Indigo offers a wide range of bases: Ultra Strong Base strengthens and protects the nail, Removable Base prolongs colour stability, Liquid Base copes well with a problematic plate, and we don’t even have to introduce Protein Base – you already know that it provides a perfect look even for weak and damaged nails. 5. Apply a thin layer of the base (by flattening the brush) as close to the cuticles as possible. The consistency of Indigo bases gives a very precise application, but if the cuticles are unintentionally soiled, the product must be thoroughly removed with an orange tree stick. 6. We cure the base in a lamp (LED – 30 seconds, UV – 60 seconds) and if the client has very damaged nails we apply a second layer and cure again.
Matte hybrid manicure – step 3: colour application
7. One or two layers of a selected shade of hybrid nail polish are applied, depending on the pigmentation. When applying two layers, the first one should be as thin as possible, evenly covering the nail plate and as close to the cuticles as possible. The second layer can be thicker, yet it must be applied with equal precision. 8. Each layer is cured in a lamp (LED – 30 seconds, UV – 2 minutes).
[[5931]]
Matte hybrid manicure – step 4: nail design finishing
9. To achieve the effect of beautiful matte nails, we reach for the Super Matte top coat from Indigo, which provides a wonderful matte finish regardless of which Indigo colour we’ve chosen (taking into account the obvious fact that light shades are easier to get dirty, so they require more care and attention from the client). The Super Matte top coat guarantees extreme durability and abrasion resistance, and also eliminates the risk of any dispersion layer – no wonder that our nail artists love it so much. 10. Super Matte is then cured in a lamp (LED – 30 seconds, UV – 2 minutes). 11. Eventually, wipe the nails with purple Cleaner and the design is ready!
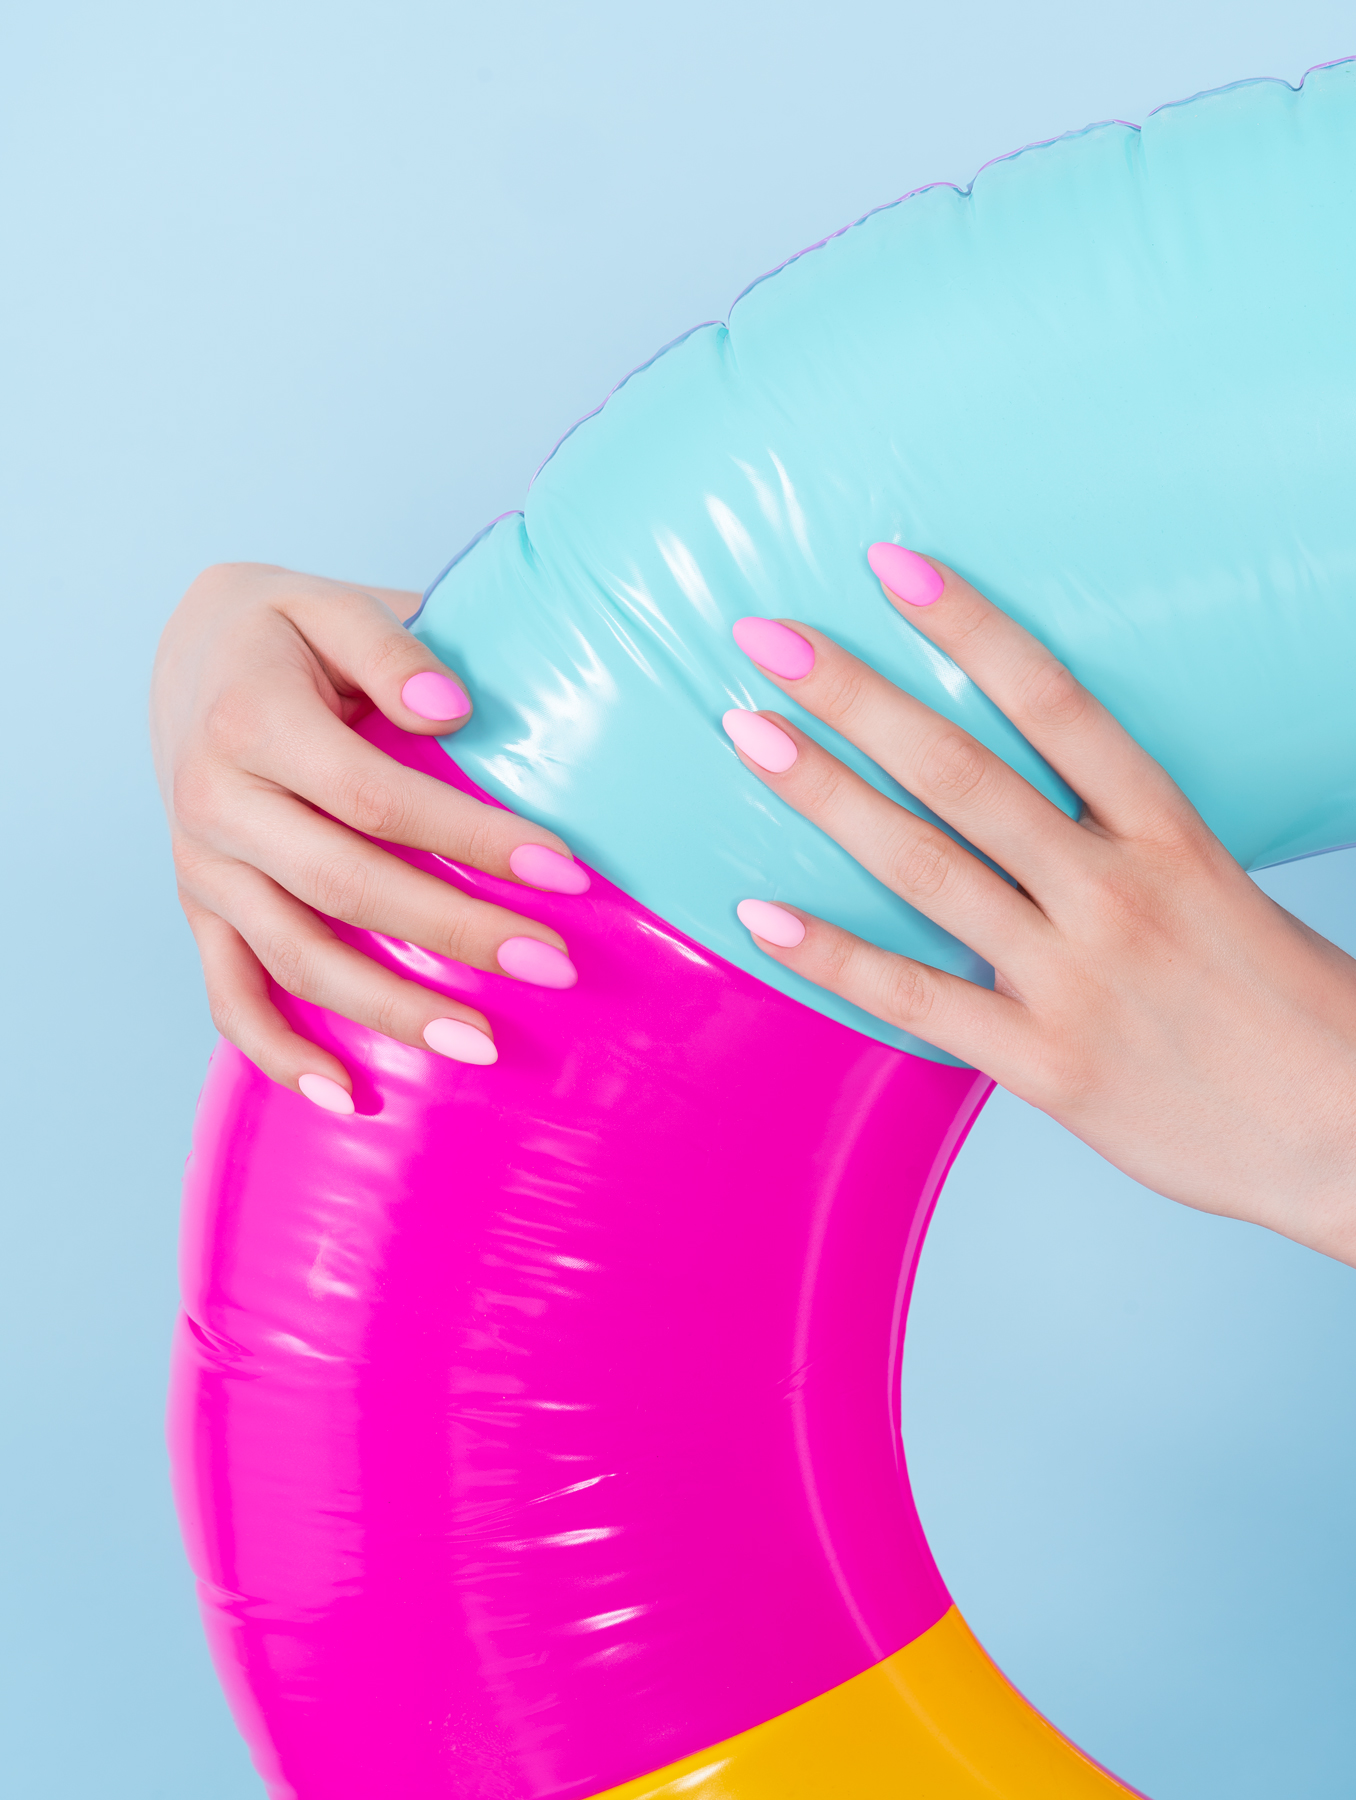
To make matte nails look really beautiful, we must remember that none of the above steps can be missed. The selection of products is also very important – only those of high quality, as mentioned in the text, will provide a lasting and perfect effect, which we can enjoy even up to 5 weeks.
Published:
10.12.2018
Updated:
06.11.2023