![Rainbow ombre - step by step [VLOG]](https://www.indigo-nails.com/media/magefan_blog/2020/09/fk_115_1ad2cde.jpg)
Tags
CREATE A PERFECT OMBRE WITH INDIGO
It is nothing new that trends are coming back like a boomerang but some of them are never out of fashion. For example, the ombre effect on nails. It is always enchanting and will look great as an independent style as well as a base for unique decorations. With a wide range of colours and embellishments, we can create a truly unique, fabulous ombre manicure that goes with all the current trends.
The possibilities of combining colours and ways for colour transitions are infinite. Vertically or horizontally? Two-colour classic way or multi-coloured variations? You will only be limited by your imagination.
How to do that? Ombre effect can be made with almost every coloured product. You can use Arte Brillante gels without dispersion or Nail Art gels. Indigo have introduced new products to the collection, which will make creating an ombre effect so simple. New amazing Indigo mousses that combine the attributes of Arte Brillante and Nail Art gels. UV Mousse Indigo Gel, with their intense pigmentation and easy-to-use consistency, allow you to create perfect tonal transitions. To make such a manicure, we recommend using a brush or sponge for Indigo special tasks. A sponge perfectly distributes the pigment without bubbles and its greatest advantage is that it doesn’t absorb the product. You will see that creating the ombre effect with the Mousse Gel is just a pleasure!
HOW TO CREATE AN OMBRE MANICURE?
Are you wondering what products you should use to create a perfect ombre? No worries, below you will find everything you need to know. We share our recommendations, insights and present a list of Indigo products, which you can use to make the ideal ombre style.
The basis of any style is the appropriate preparation of the nail plate. Dulling, cutting cuticles and giving the right shape are the first three steps that should be always remembered. You should also prepare yourself and all the necessary products which you will use for styling. What will you need? You have to decide.
Nail Polish
We put a base on a pre-prepared nail, a vinyl or diamond base for example. After applying the base, we apply the colour. To achieve the ombre effect, apply the colour on the entire nail plat. When the first layer is already dry, proceed to stamp the second colour with a sponge. After the last layer of colour has dried, protect the entire styling with top, for example: Ceramic Top or professional Finish Top Coat, which creates a protective armor and protects your manicure for many days.
UV Mousse Gel
Once the nails are ready, degrease the nail plate and apply the primer, Acid Free Primer for example. After waiting about 40-60 seconds, apply the base, in this case it can be Protein Base. Ombre effect can be made directly on the base or any chosen Gel Polish colour. Apply Mousse Gel on the nail and shade using a sponge. Each layer should be hardened in the lamp. To get a bold ombre effect, you will need two or even three layers – it all depends on the intensity of the selected colours. After achieving the desired effect, the whole styling should be secured with the Wet Look Top and washed with the irreplaceable Super Shine Cleaner. Due to the easy application and a huge selection of colours, this method is one of our undisputed favourites!
Paint Gel & Sugar Effect
The Indigo collection also includes: Paint Gel in black and Sugar Effect in white. Both have a honey consistency, so these gels do not spill, which makes even the most demanding styles. Both gels leave a very strong dispersion layer. Paint Gel facilitates getting jewellery decorations using a transfer foil, while Sugar Effect allows you to achieve the effect of powder styling, works in combination with colourful acrylics, as well as in creating a French manicure or the popular Baby Boomer. We can apply gels on a pre-prepared and colour-covered nail plate with a sponge or gel brush.
Arte Brillante Gels
Arte Brillante is a collection of 20 shades of gels and is perfect for making ombre styles. These gels do not leave the dispersion layer, which simplifies the whole work and shortens it’s time to a minimum. We can easily create a tonal transition using a sponge, because of the very strong pigmentation of these gels. The unique colours (bold neons, extremely sweet but also classic and toned) will allow you to create very original styles in the blink of an eye!
Nail Art Gels
Nail Art Indigo gels are products with very high levels of coverage and they also leave the dispersion layer. Nail Art gels facilitate making any ornaments – structural, convex, precise ones, as well as shading, which is why they will be perfect for an ombre effect. These products also have a pleasant, medium-thick consistency, which is why they are so easy to apply, and you don’t have to worry that this product will start to run off.
Smoke Powder
Smoke Powder powders, which are available in 11 ultra-intensive colours, will be perfect for creating an ombre effect. Using these powders, we will get a delightful, smoke effect without problems and the ability to mix colours is extremely tempting! This method is one of the easiest and fastest to do. For applying these powders, you need a clean flat brush, One Stroke II or III for example. It is enough to pat the chosen colours of the powder in the gel dispersion layer one by one and then gently blend it. As the foundation for such decorations we can use Sugar Effect gel or Gel Polishes. After achieving the desired effect, remove the excess product and cover the styling with Gloss 3D Removable top. This method is fast and keeps skin clean.
OMBRE STEP BY STEP
Want to see how to perform an ombre effect step by step? In the following video, Ania Leśniewska – instructor of Indigo Nails – will present the perfect ombre made with acrylic powders and the instruction of the Snake Skin decoration, also in the ombre version.
- Start by choosing the colours of your ombre using a nail polish you prefer, e.g. Maybe Baby,
and the selected Arte Brillante, e.g. Luna Park Arte Brillante
- Prepare a standard design with the application of one layer of colour, e.g. Maybe Baby (remember about cuticles, shape, base application, curing, etc.).
- Cure in a LED lamp for 30–60 seconds.
- Apply a thin layer of nail polish, e.g. Maybe Baby, from the top to 3/4 of the length of the nail, and apply a small amount of Arte Brillante, e.g. Luna Park, on the remaining 1/4 of the nail.
- Press a sponge to the nail – make quick movements to the right, to the left and to the bottom of the nail to blur the border and smooth the transition between colours.
- Cure the nail design in the LED lamp for 30–60 seconds.
- Repeat steps 5 and 6 at least 2–3 times.
- Sponge the surface of the nail again, but this time without applying more layers of the product; the sponge needs to be soaked with the colours used before in order to refine the Ombre effect.
- Cure the nail design in the LED lamp for 30–60 seconds.
Cover the whole design with a selected top e.g. Tip Top Top Coat
Watch now!
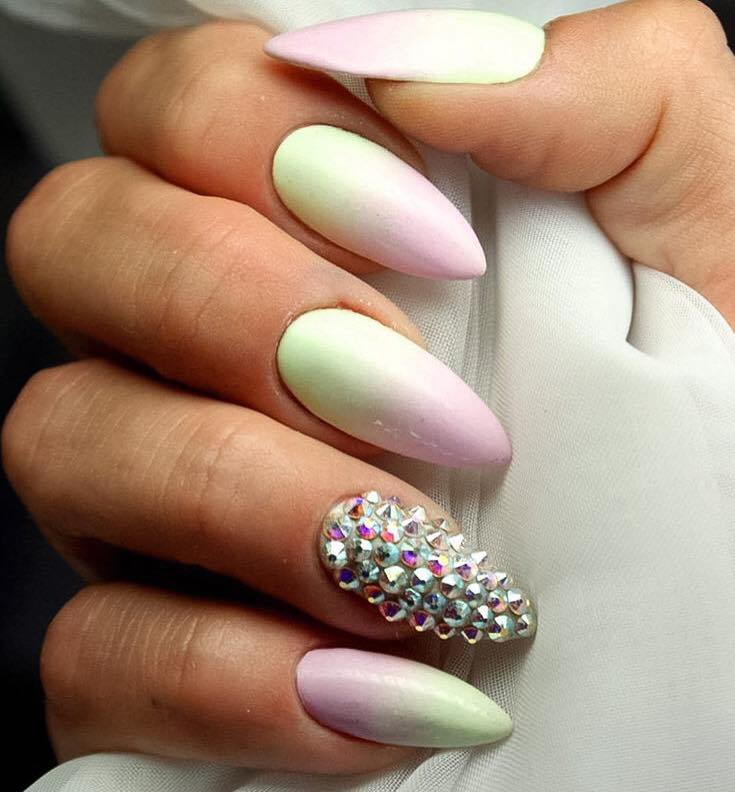
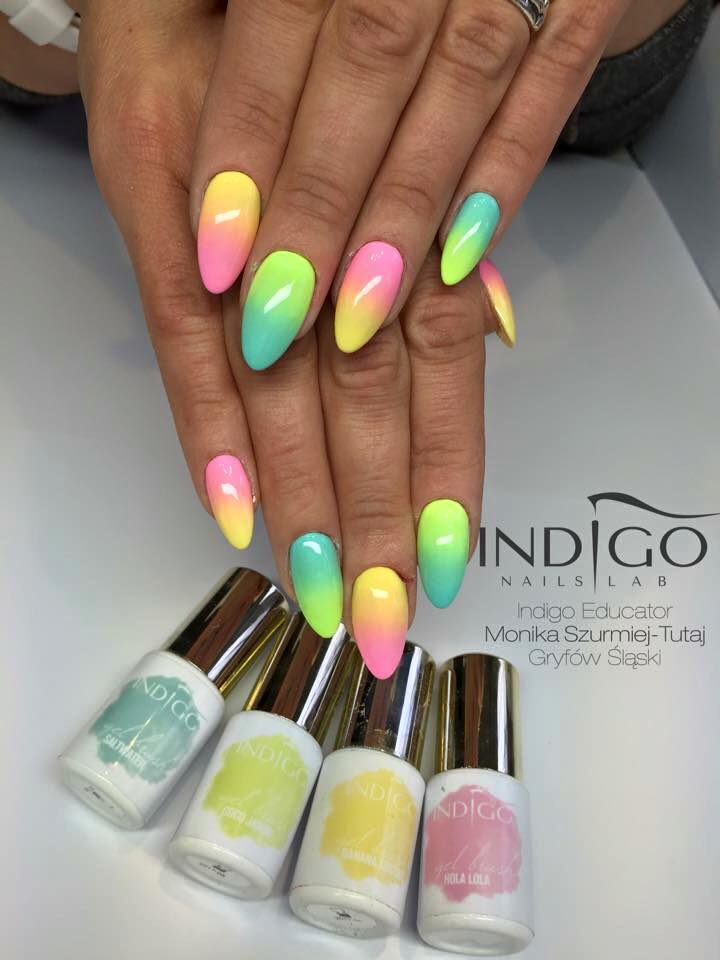
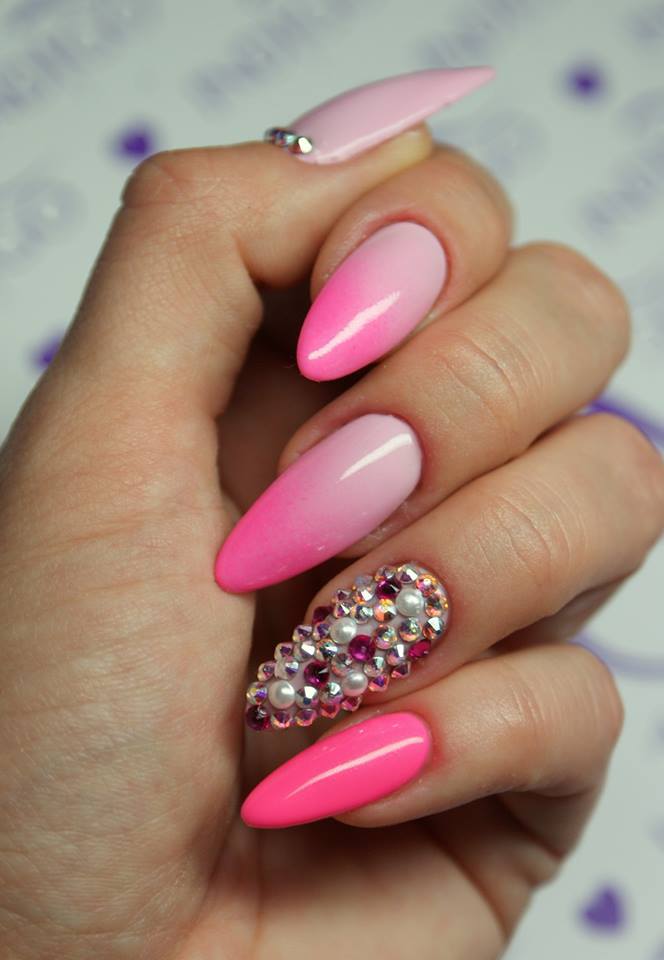
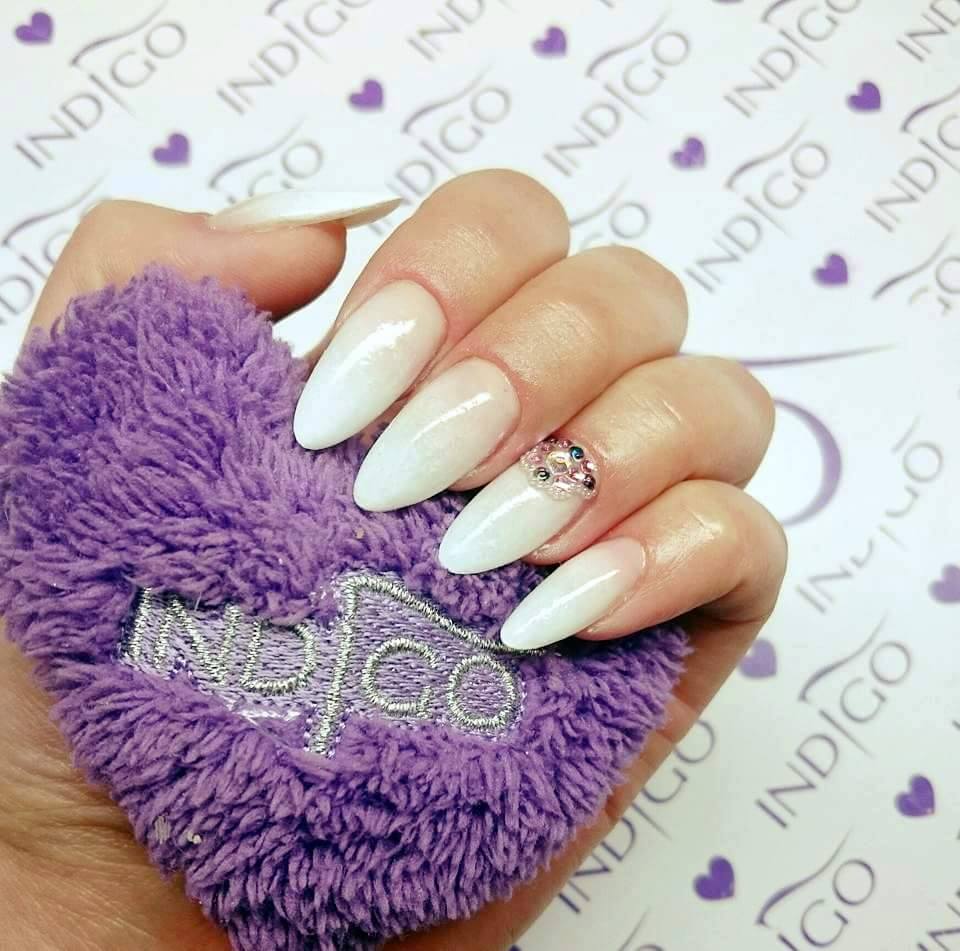
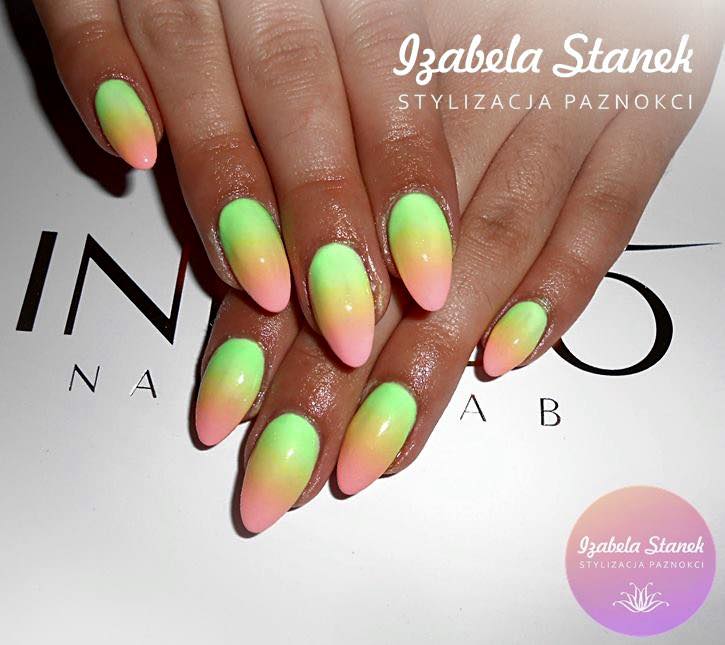
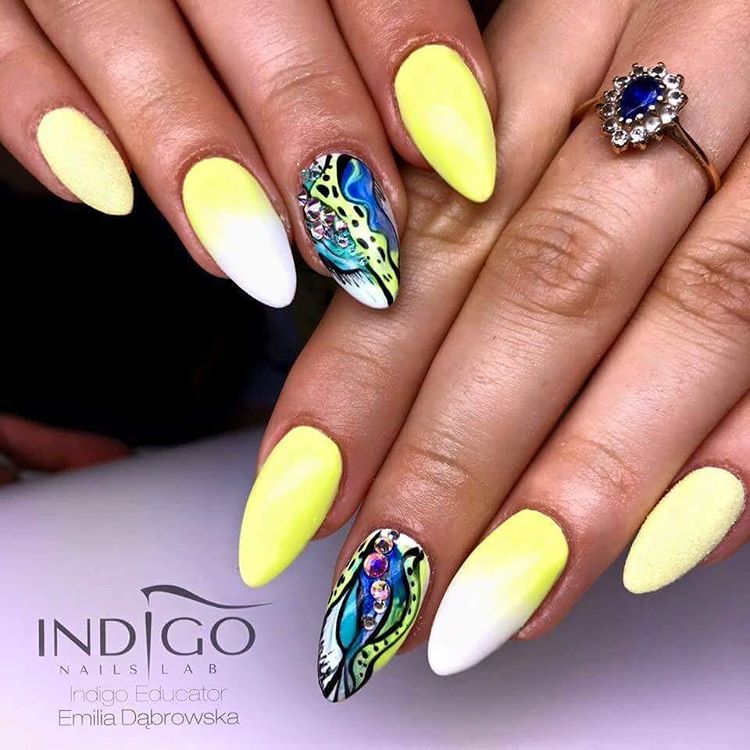
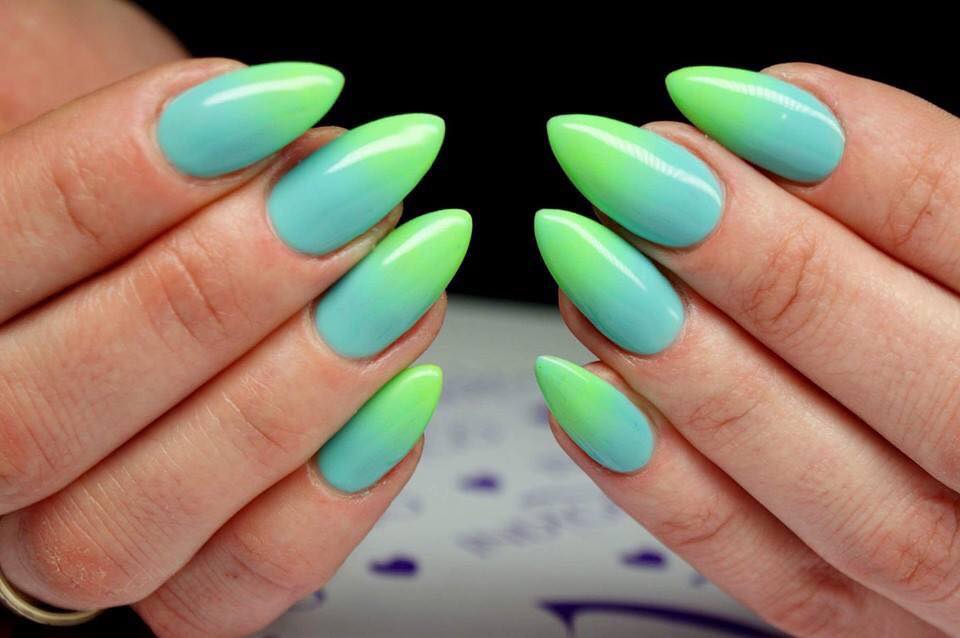
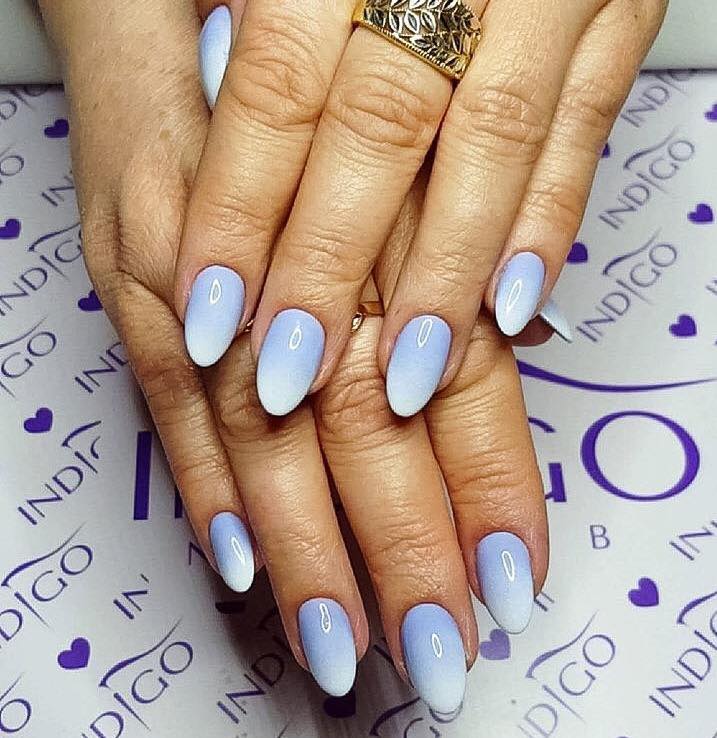
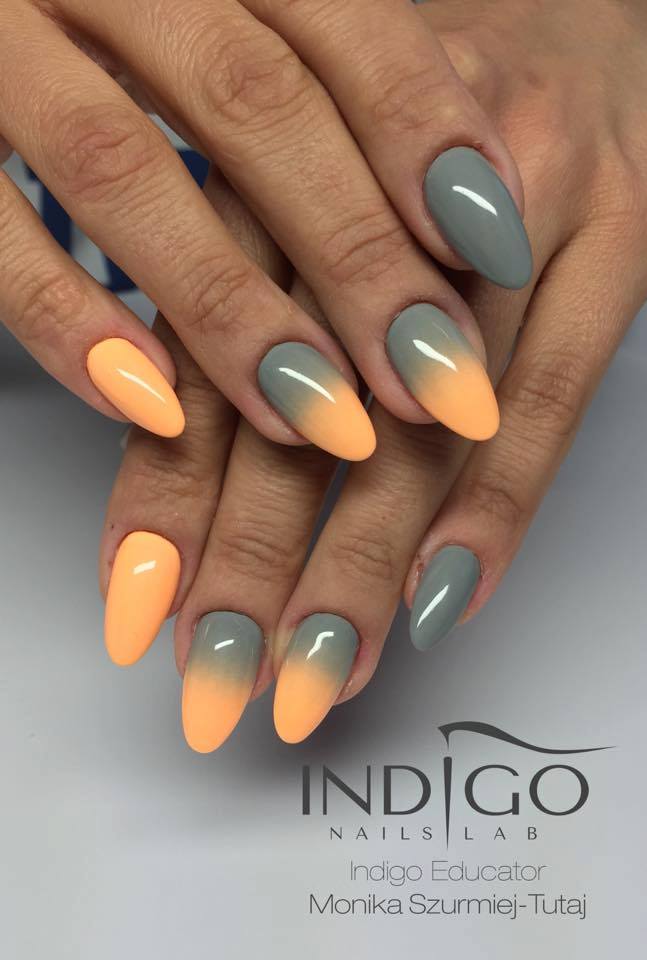
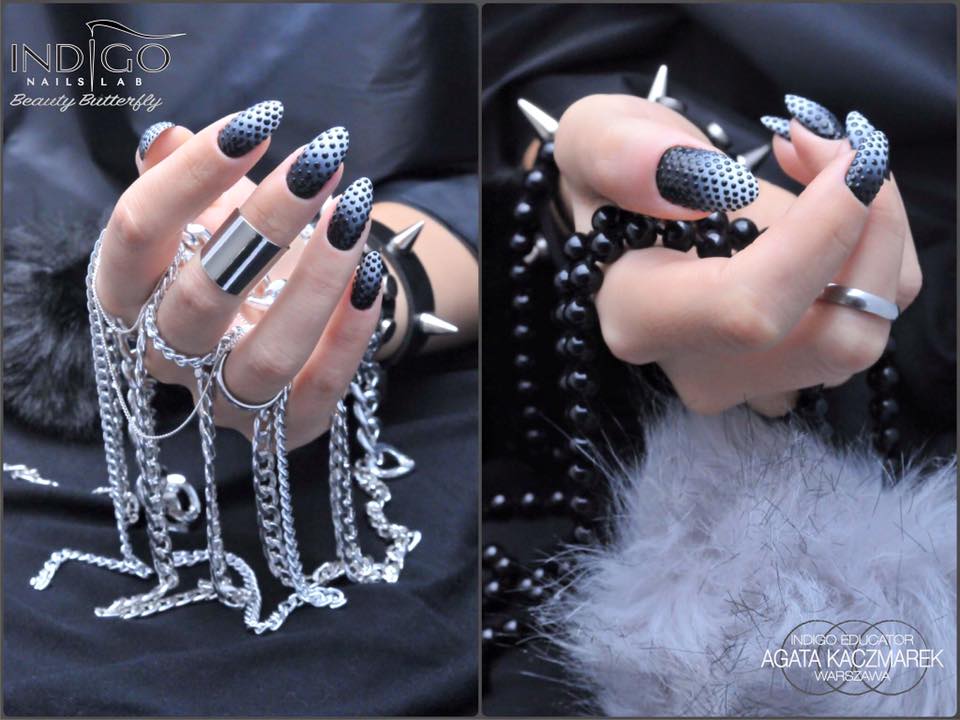
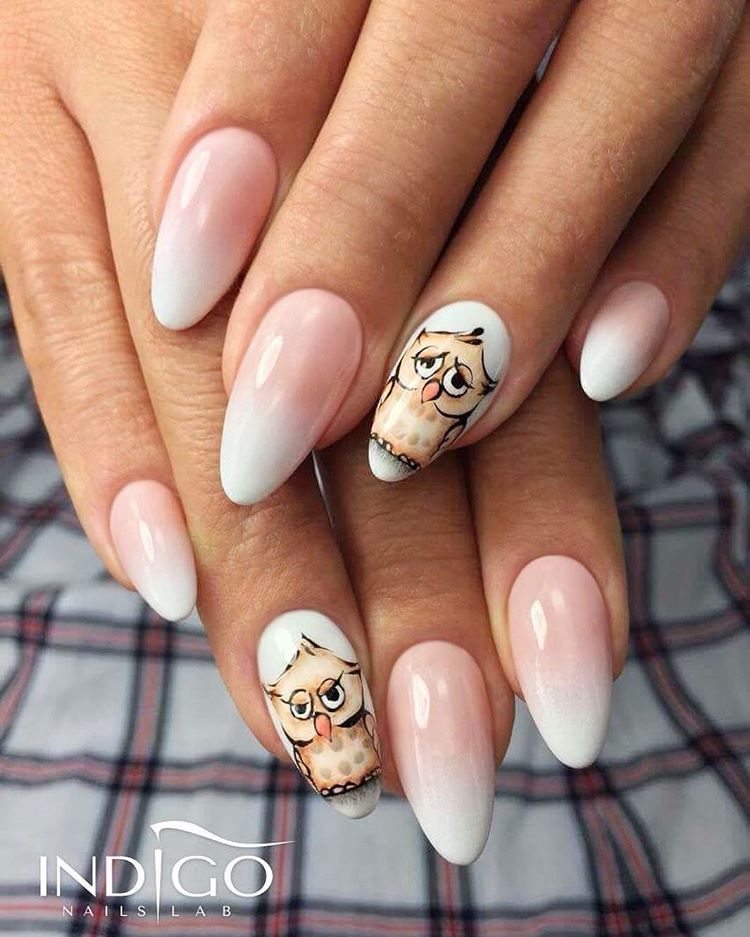
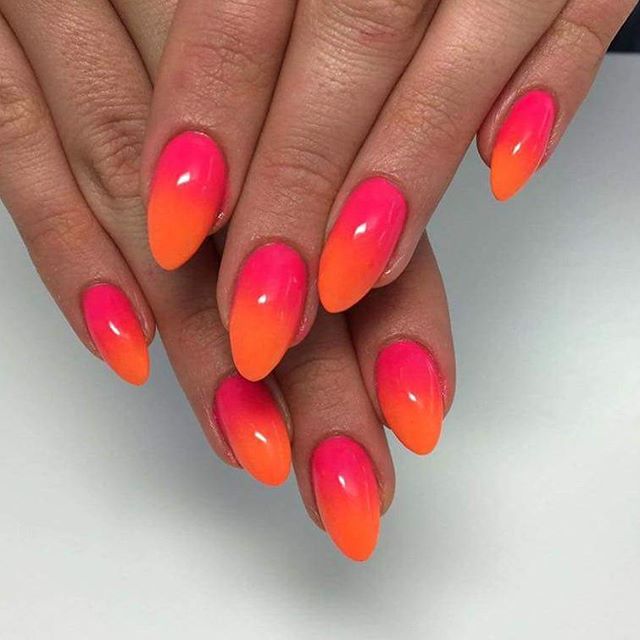
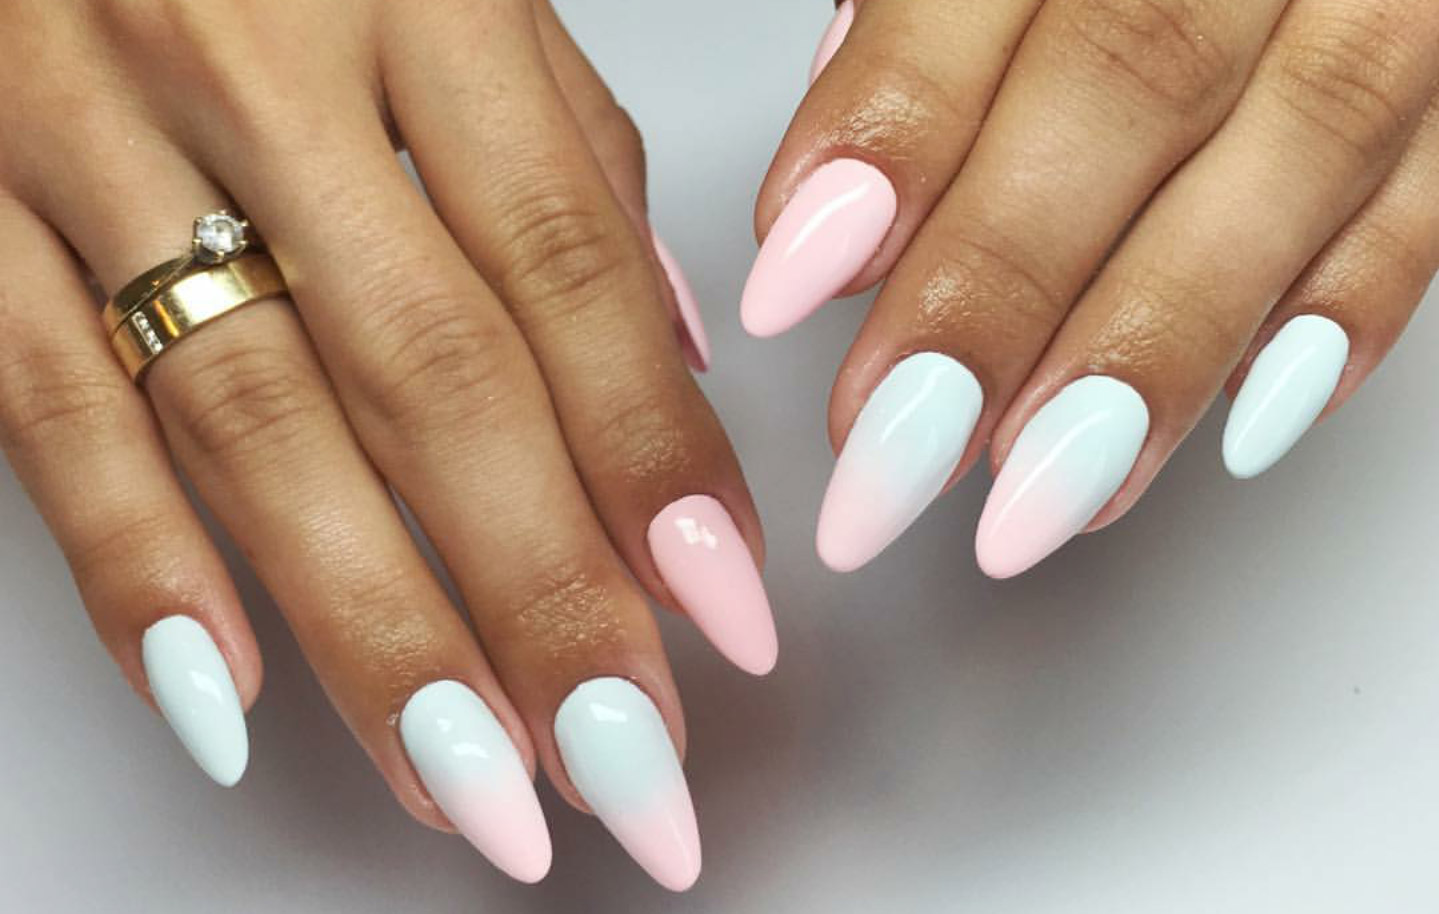
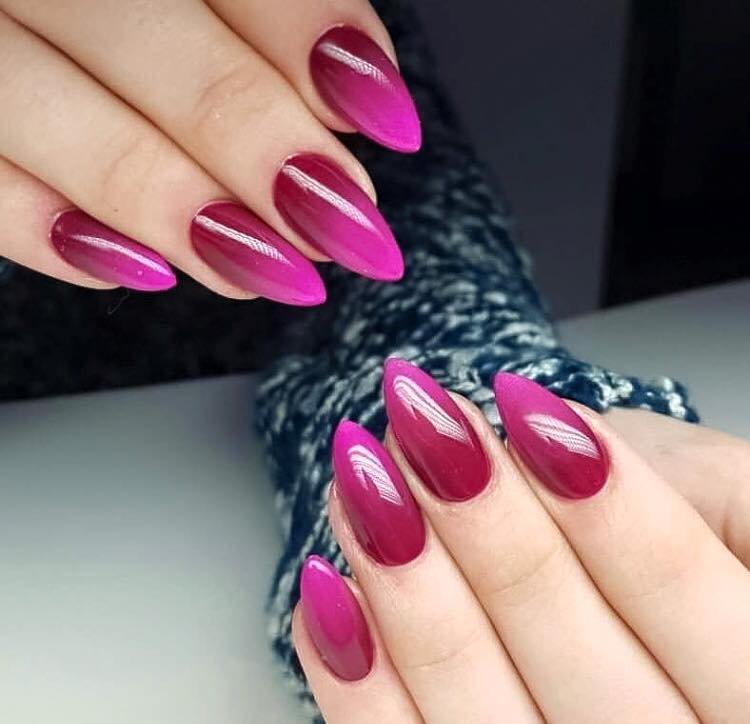
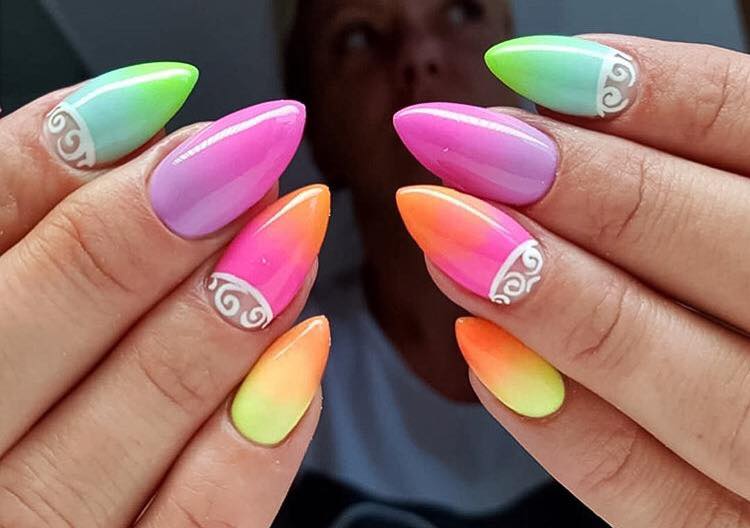
See other fun ideas for ombre find our gallery:
Published:
06.07.2017
Updated:
07.11.2023