![Smoke Effect - step by step [VLOG]](https://www.indigo-nails.com/media/magefan_blog/2020/09/efekt-dymu-na-paznokciach.jpg)
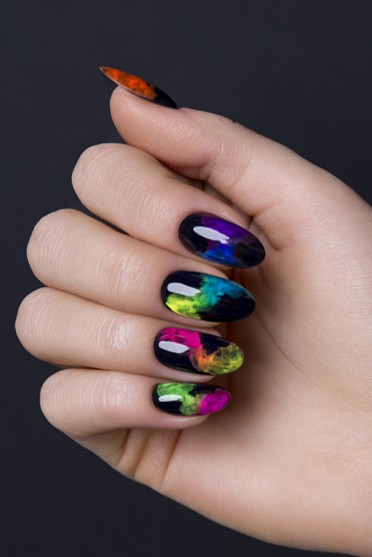
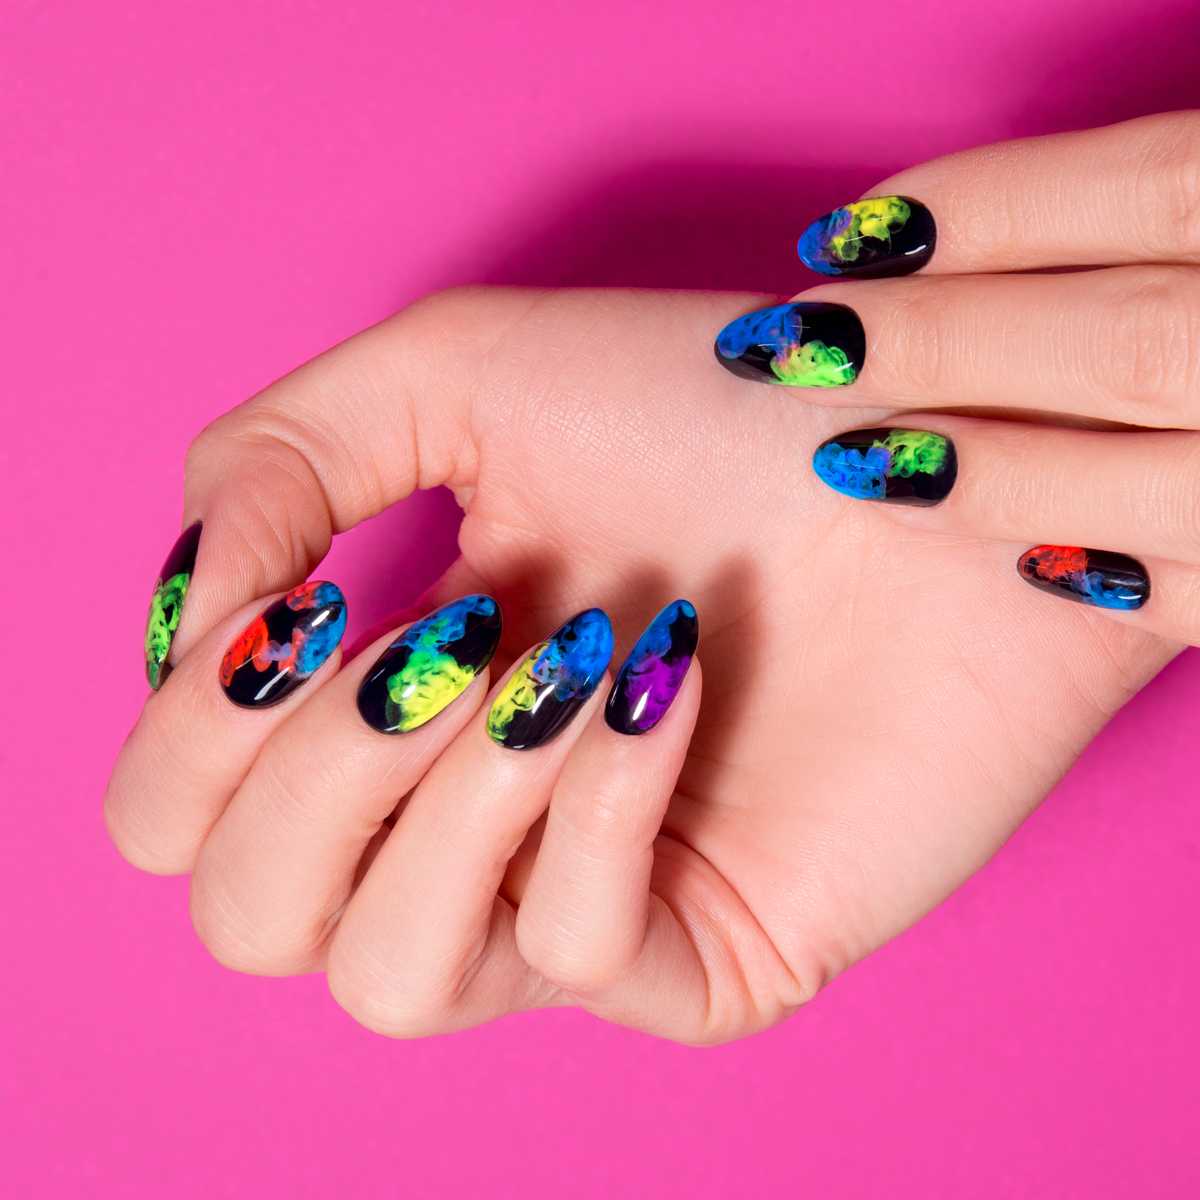
The effect of smoke, although very spectacular, is much easier to achieve than you think. A short training session is enough to easily create the desired effect of smoke nails.
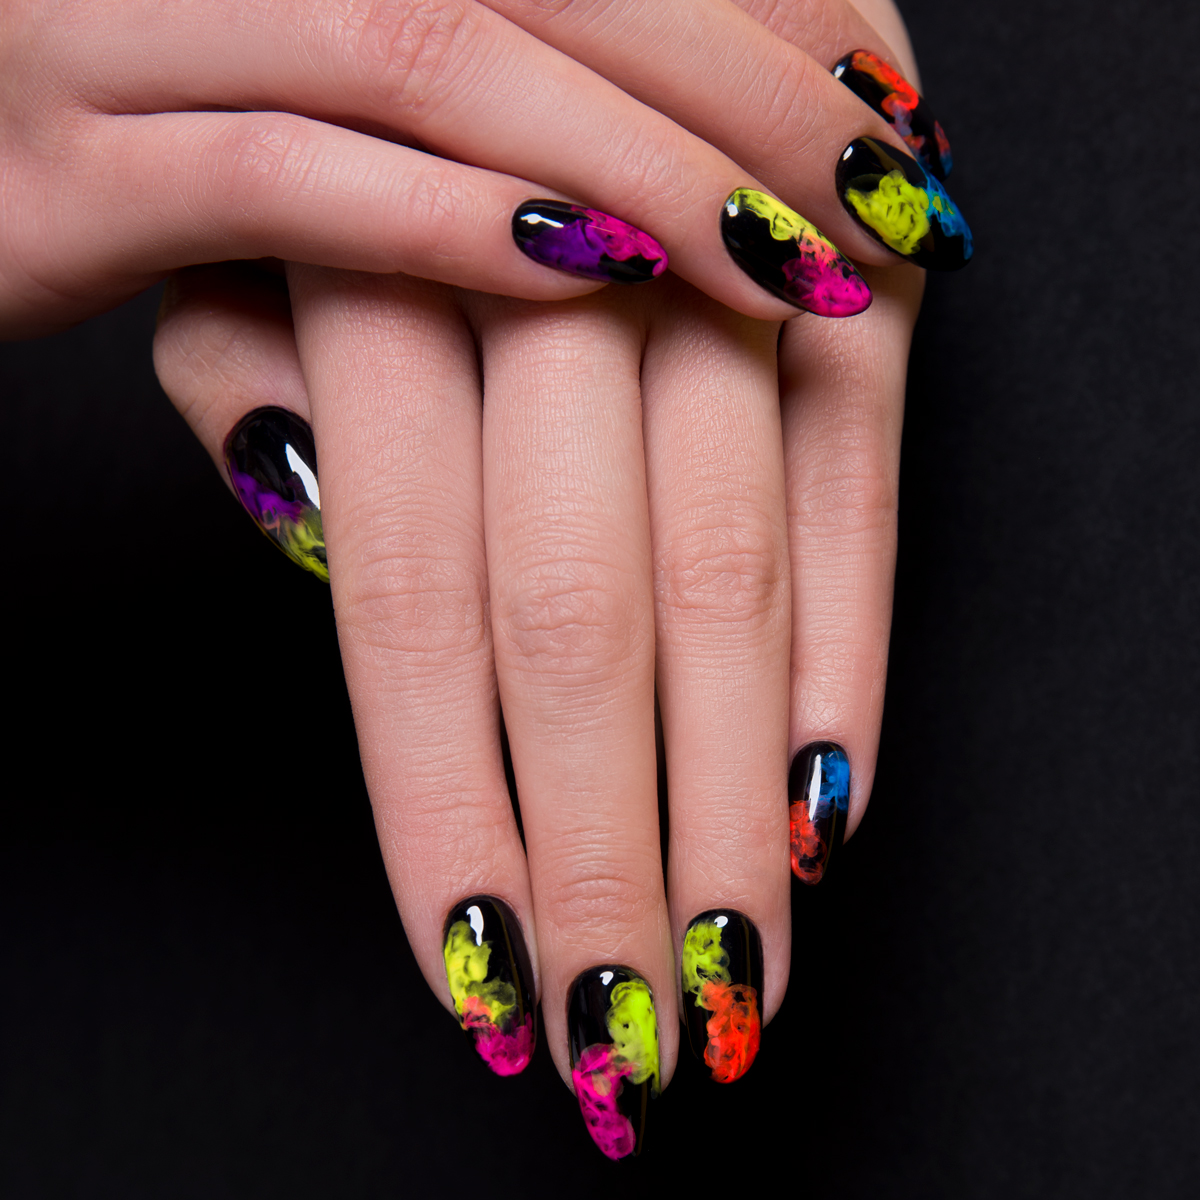
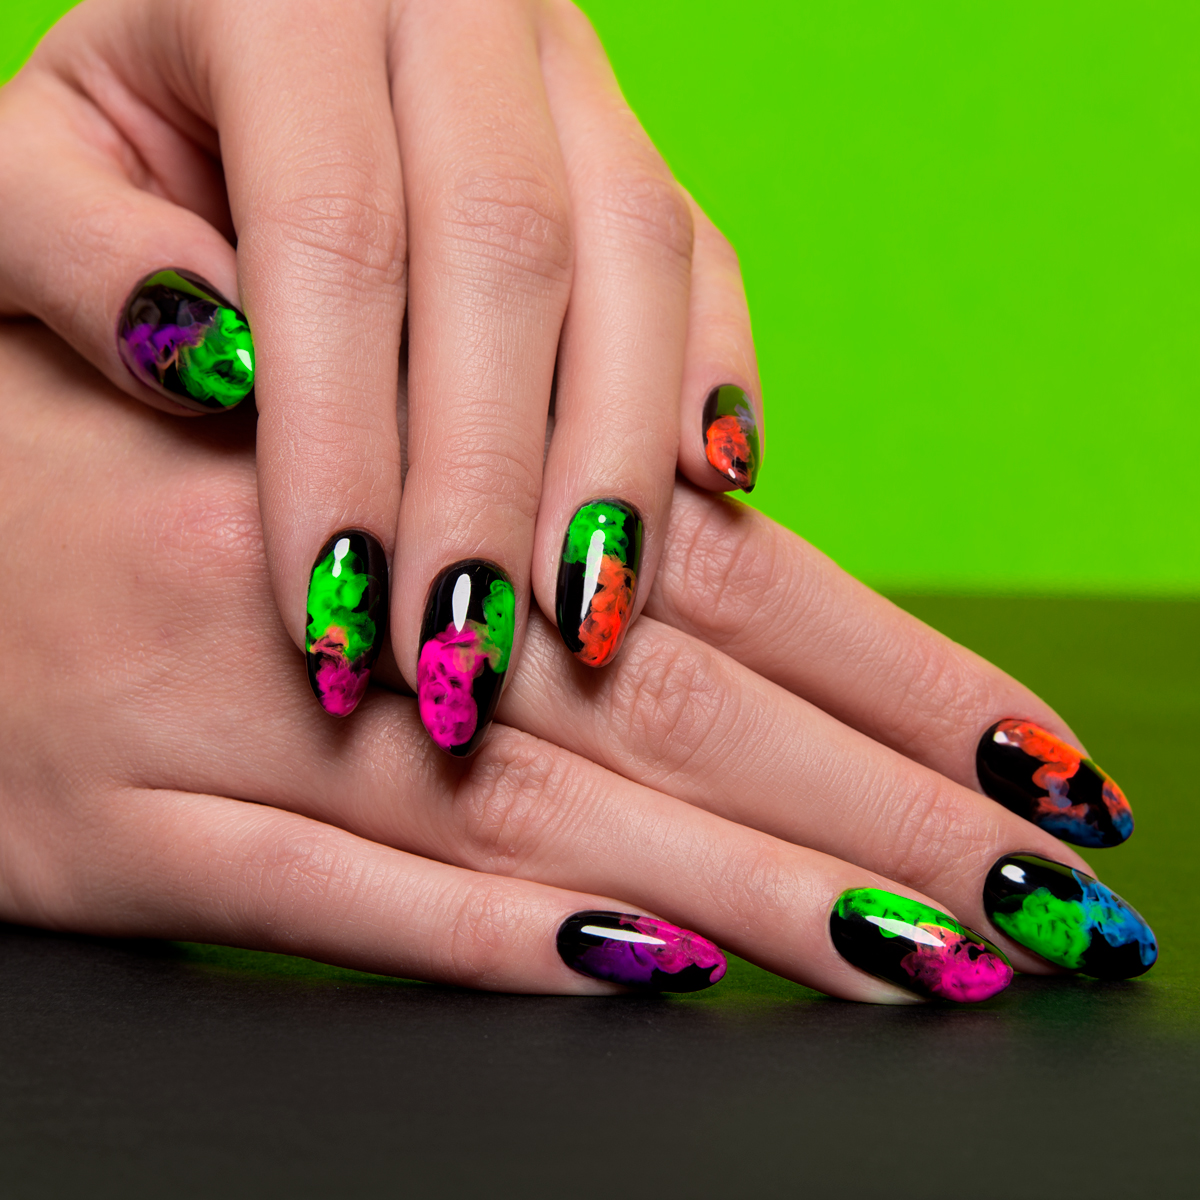
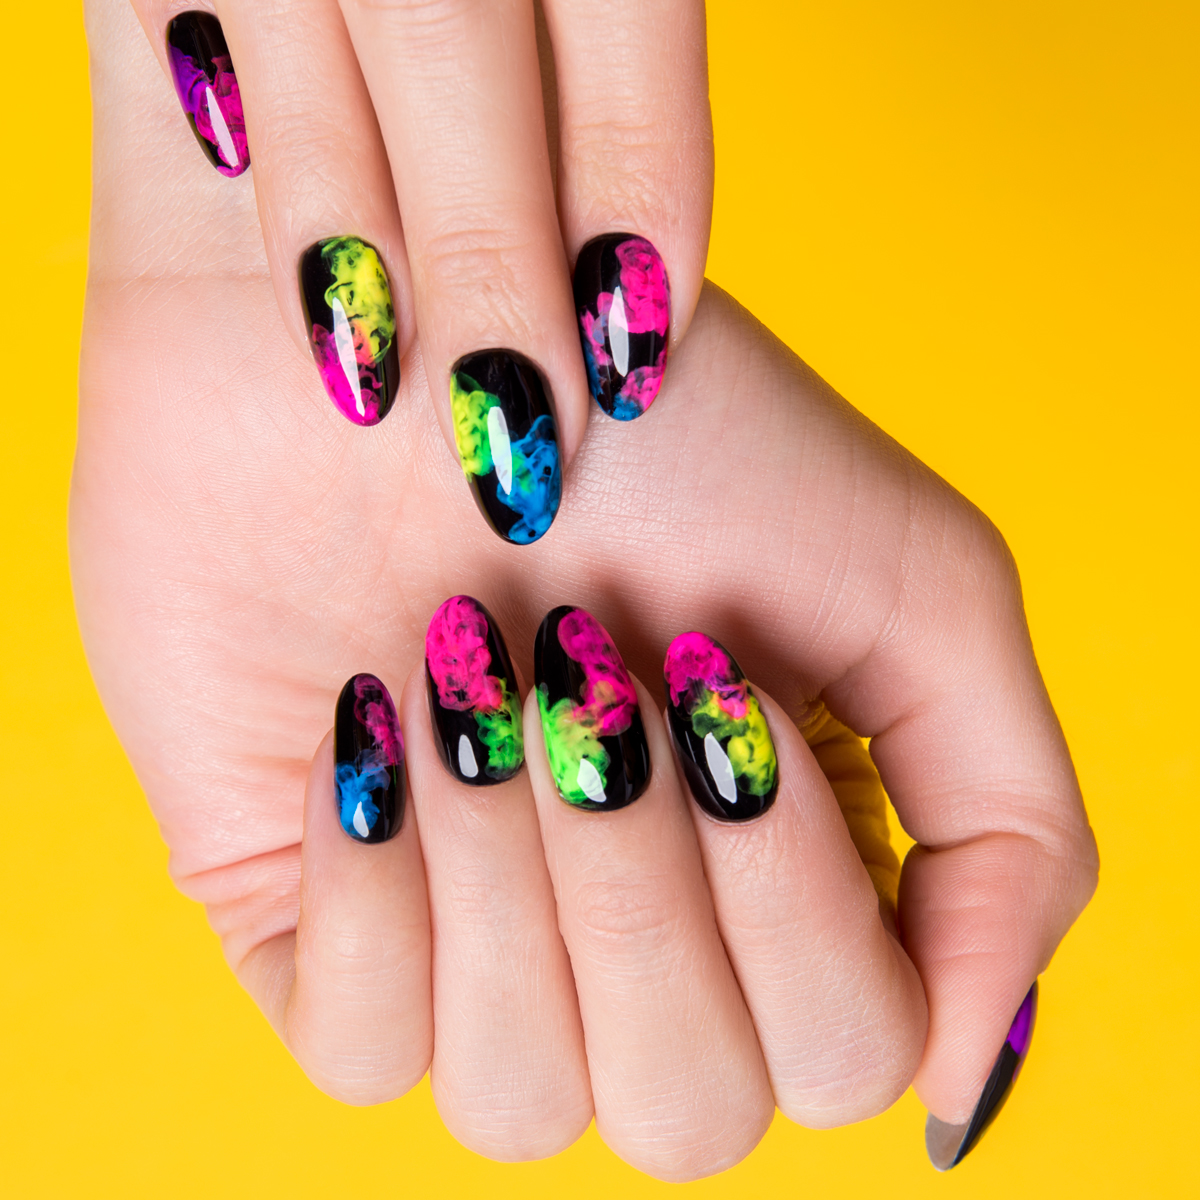
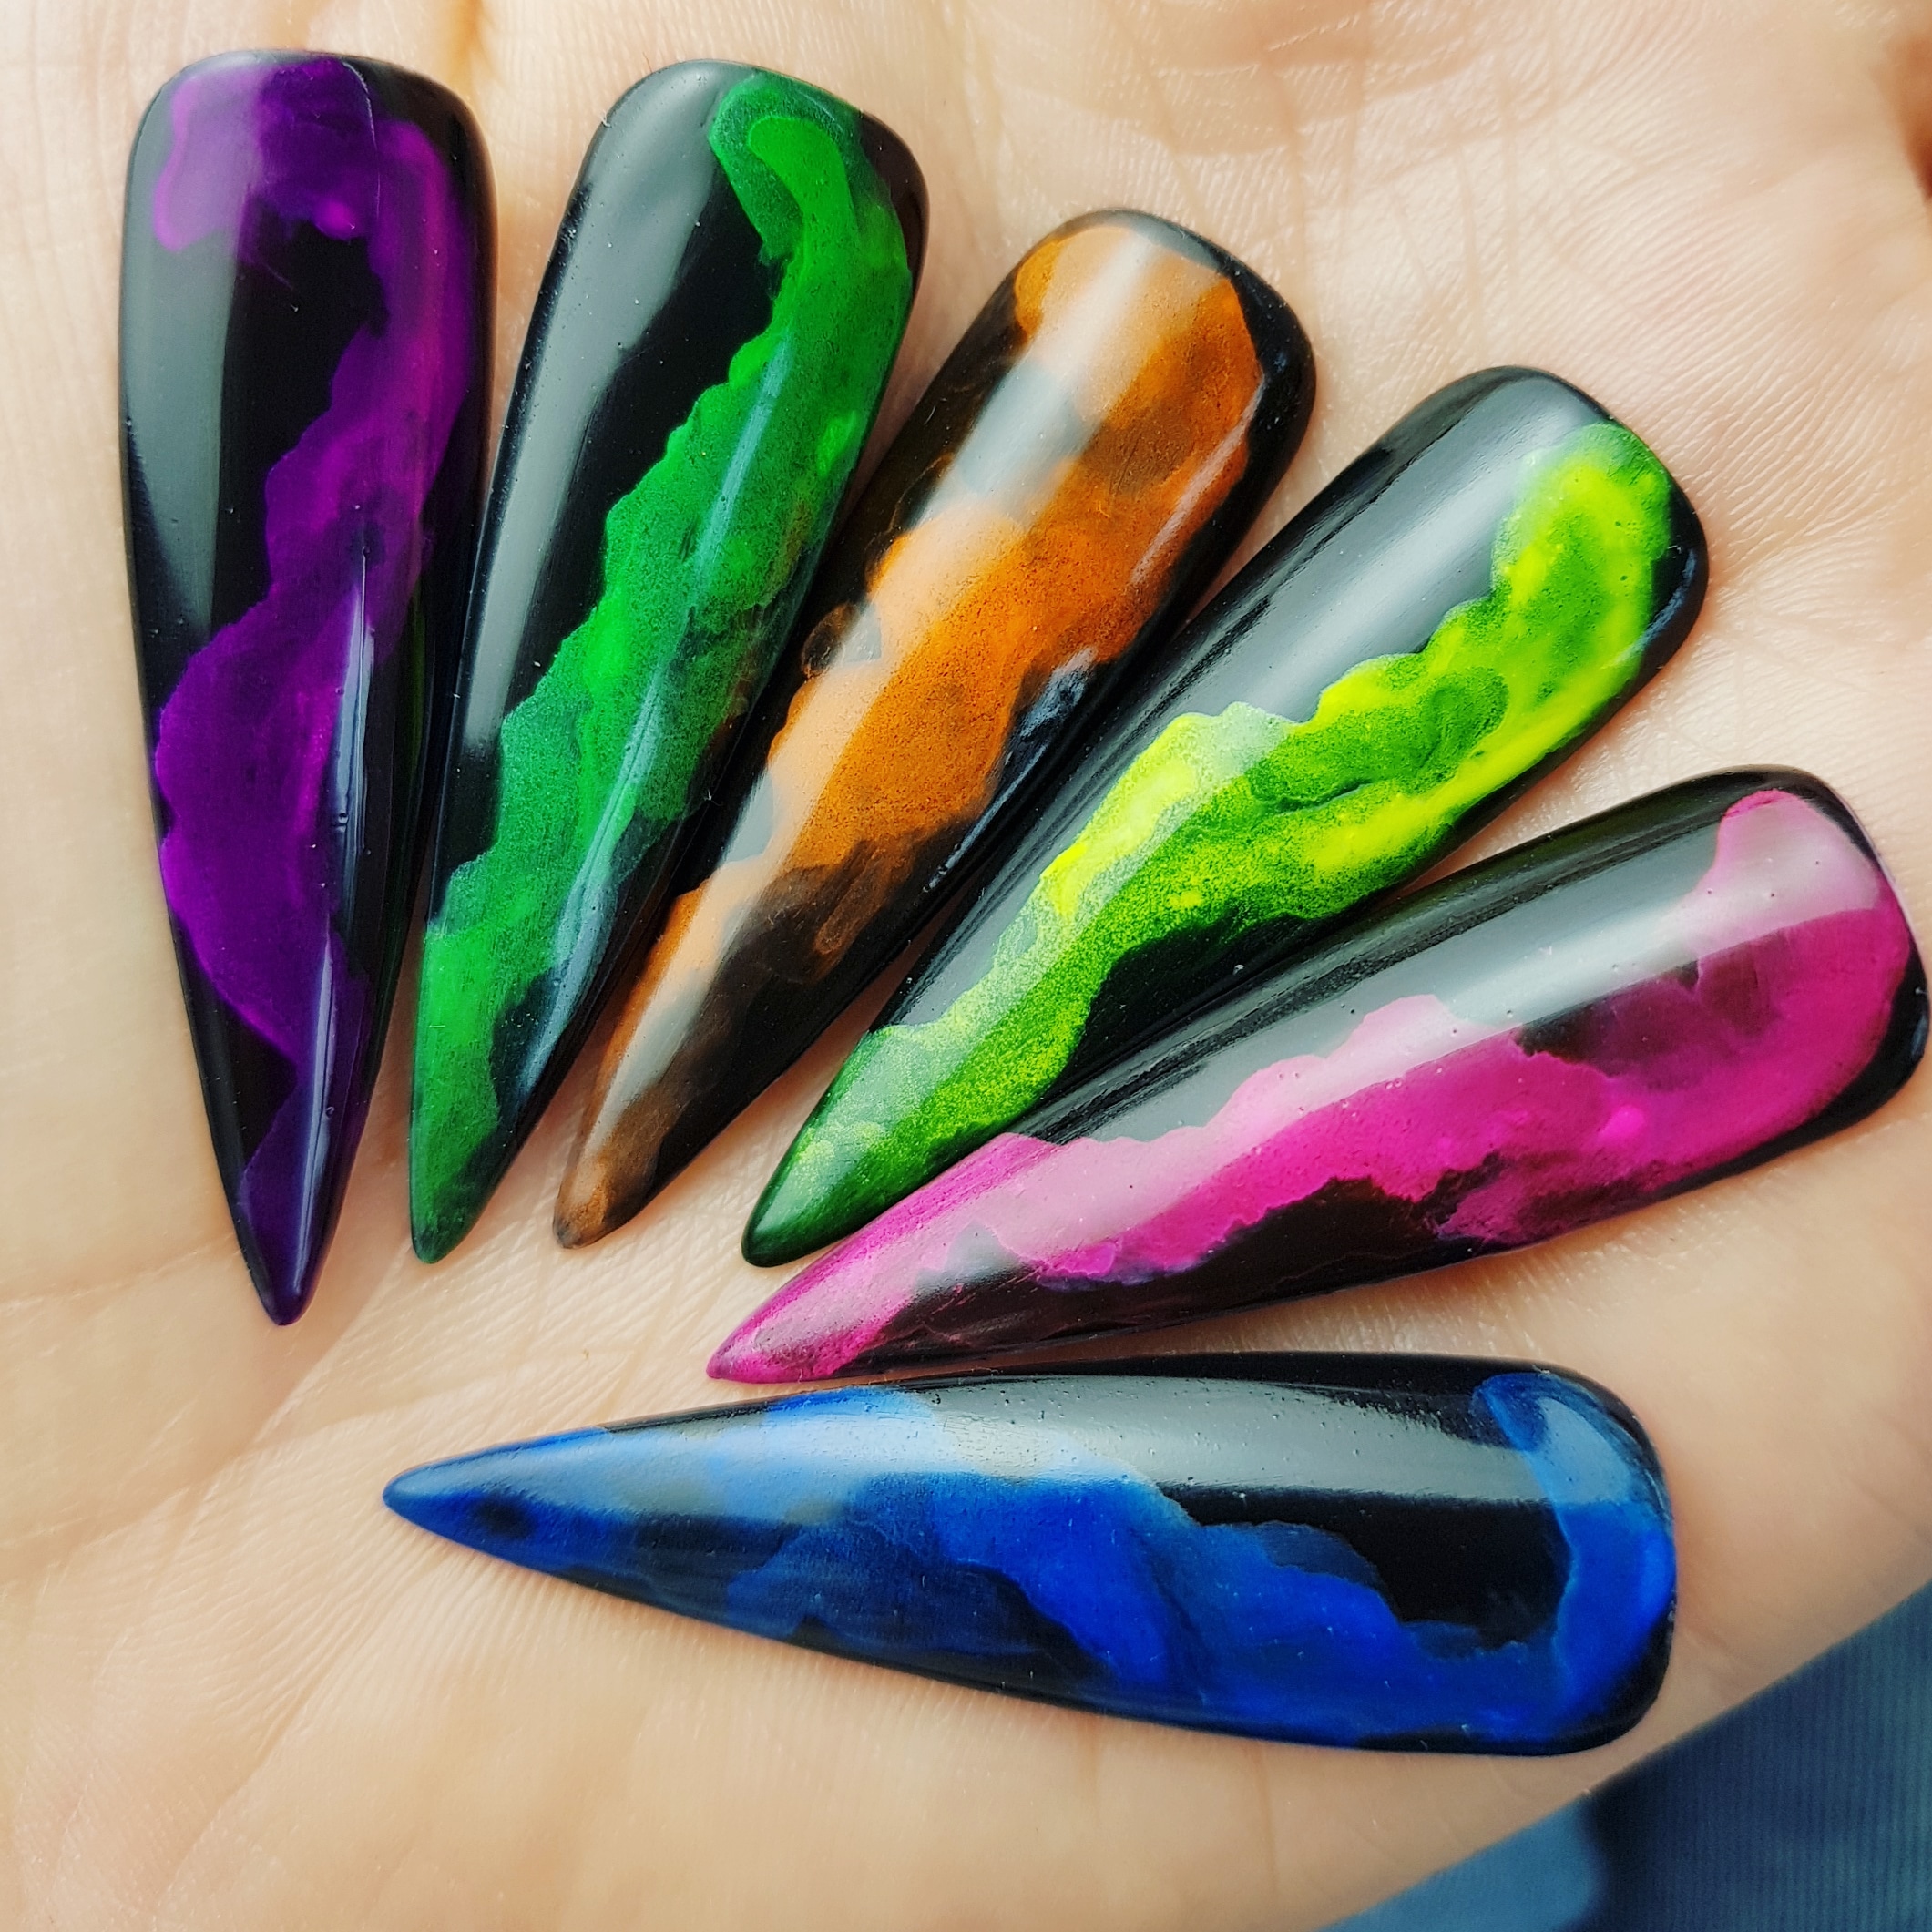
The Smoke Effect looks best when you combine bold neon colours with black backgrounds. Do you want to learn how to create a smoke effect by yourself? Read our step-by-step guide!
Smoke Effect – step by step
- Perform a hybrid nail design with 2 layers of black e.g. Mr. Black; cure each of the layers in a LED lamp for 30–60 seconds.
- Prepare a brush and selected Sugar Effect. Moisten the brush in Cleaner and then apply Sugar Effect to it.
- Apply Sugar Effect to the nail by painting it in the shape of smoke – smear on the surface of the nail until the desired effect is achieved.
- Cure the nail design in the LED lamp for approx. 30–60 seconds.
- Rub chosen Smoke Powder on the dispersion layer formed after curing the design.
- Remove excess of Smoke Powder with a very soft brush.
- Cover the nail design with a top, e.g. Tip Top Top Coat, and cure in the LED lamp for 30–60 seconds.
Published:
19.03.2018
Updated:
06.11.2023