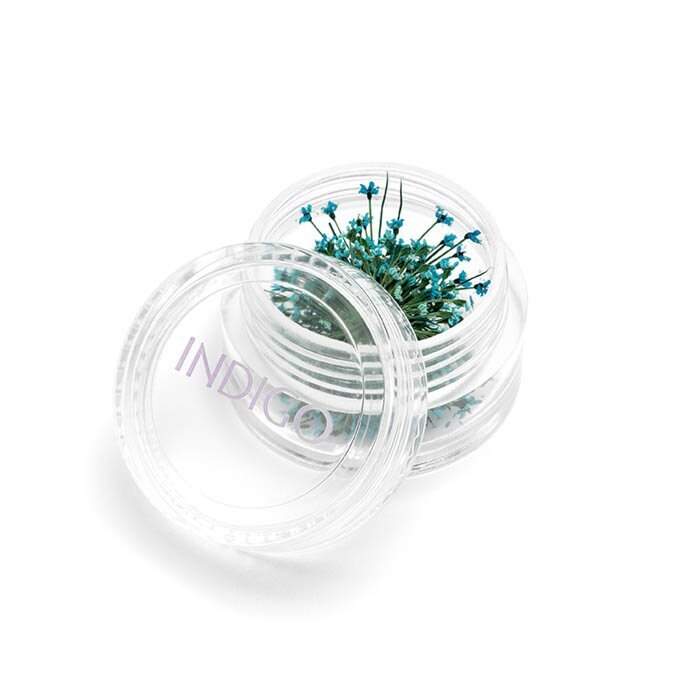
Dried Flowers Blue - 5 PCS
-

Secured payment Safe online transactions
-

Fast shipping Delivery up to 4 working days
Table of contents
Description
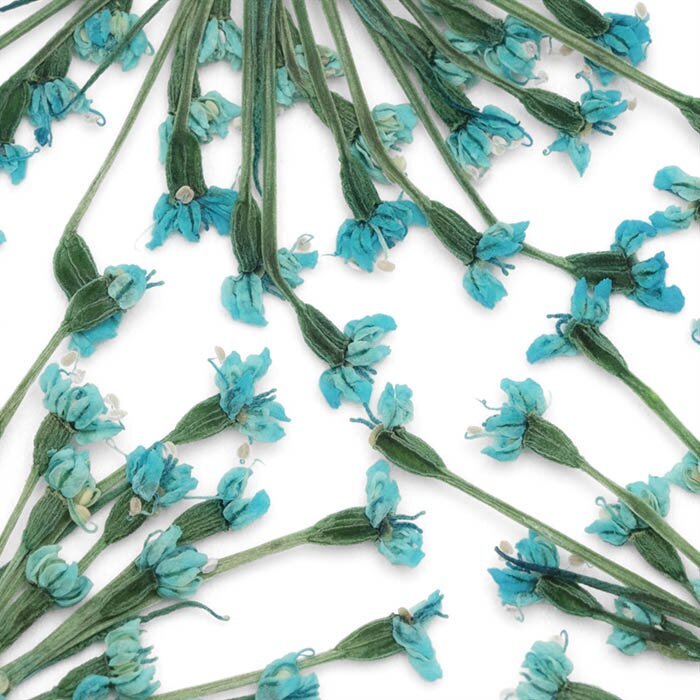
Dried Flowers Blue, is lightness captured in delicate petals. Using them opens up the possibility of experimenting with colors and textures, creating a manicure unlike any other. Dried flowers are nail decorations, designed to create unique styles. Hybrid nails, gel, structural French - try it out today and feel the true breath of spring.
Product attributes
| Application | decorations, delicate decorations |
|---|---|
| Application for | construction french, mixed with top, construction nails, Fantasy French |
| Consistency | dried flowers |
Benefits
- can be applied to a part of the nail or lining the entire surface Great for fantasy French nails.
Application tips
Using a Top Coat:
- Create any styling (gel polish, gel, acrylic or acrylic gel).
- Cover the nail with a thin layer of Effect Base or Protein Base and apply the selected colour of dried flowers onto it creating a design. Remember to gently press the flowers into the nail plate so that they sink into the uncured product - this will make it easier to cover the decoration with a top coat, forming a line of light.
- Cure the base and the flowers in the Multi LED lamp for 30 seconds.
- Secure the nails thoroughly with a top coat - Wet Look will be perfect. It is best to apply two thinner layers and cure each of them for 30 seconds in a Multi LED lamp.
- Optionally, apply one, thicker layer and cure for 60 seconds.
- Wait about a minute after removing the hand from the lamp and carefully remove the sticky layer with a cotton pad soaked in the Shea Super Shine Cleaner.
A styling with a sunk-in effect:
- Remember to disinfect the hands first (yours and your clients’). Put on gloves, then assess the condition of your client’s hands and nails and check whether there are any contraindications to the procedure.
- Push back the cuticles (using a cuticle pusher or a wooden stick) and remove them with an e-file bit (e.g. Cuticle 9).
- Make sure to matt the nail plate gently but evenly using a 100/180 grit buffer and remove any dust with a soft brush.
- Soak a lint-free cotton pad in the Classic Cleaner and thoroughly degrease the nail plate.
- Apply an appropriate primer - 90% of the time it will be the Acid Free Primer. For a more demanding nail plate, use an Acid Primer.
- Regardless of the chosen product, apply it in a minimal amount and only onto the natural nail plate, without touching the cuticles.
- Rub the Protein Base into the nail plate and cure in the Multi LED lamp for 30 seconds.
- Place the selected template and build a frame using a building gel - cure for 30 seconds in the lamp.
- Spread a thin layer of gel on the nail and the frame but do not cure.
- Using a brush or crimper, arrange dried flowers on the wet gel to create a design.
- Cure the gel and the flowers in the Multi LED lamp for 30 seconds.
- Remove the stencil and apply a larger portion of the gel, e.g. Self Leveling Clear 120, to embed the flowers in it - remembering to maintain the correct structure of the nail.
- Cure in the Multi LED lamp depending on the thickness: 30-60 seconds.
- Remove the gel’s sticky layer with a cotton pad soaked in the Wipe Off Cleaner.
- Prepare the shape of the nail with a 100/180 grit file.
- Clean the nails again with the Wipe Off Cleaner.
- Cover with any top coat, e.g. Wet Look, Tip Top, Super Matte and cure in the Multi LED lamp for 30 seconds.
- Wait about a minute for the top to cool down - removing the sticky layer or applying care products too quickly may reduce the shine of the styling.
- If the product requires it, remove the dispersion layer with a cotton pad soaked in the Shea Super Shine Cleaner.
- Finally, you can polish the nails with a dry, lint-free cotton pad to make the nails look even more beautiful. Do it until you hear a characteristic squeaking sound.
Responsible Person
Indigo Nails sp. z o.o.
Recently viewed products


