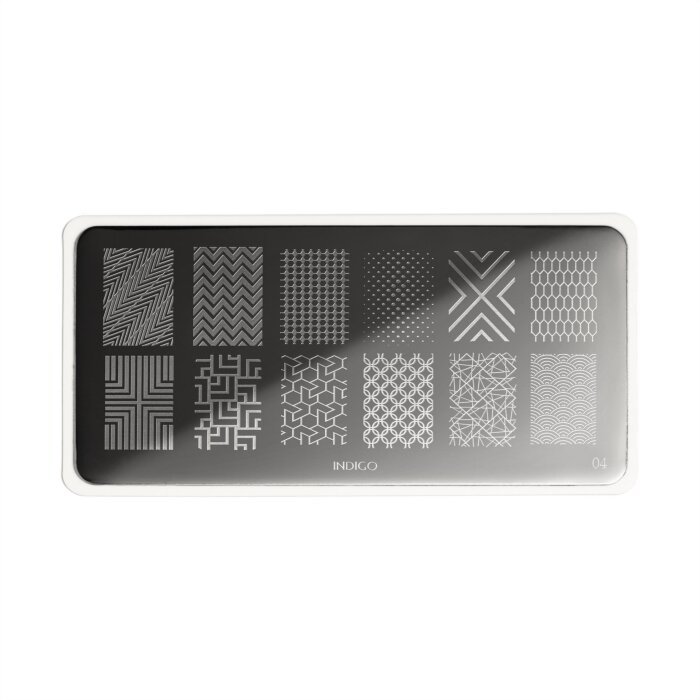
Indigo Stamping Plate 04 - 1 PCS
-

Secured payment Safe online transactions
-

Fast shipping Delivery up to 4 working days
Table of contents
Description
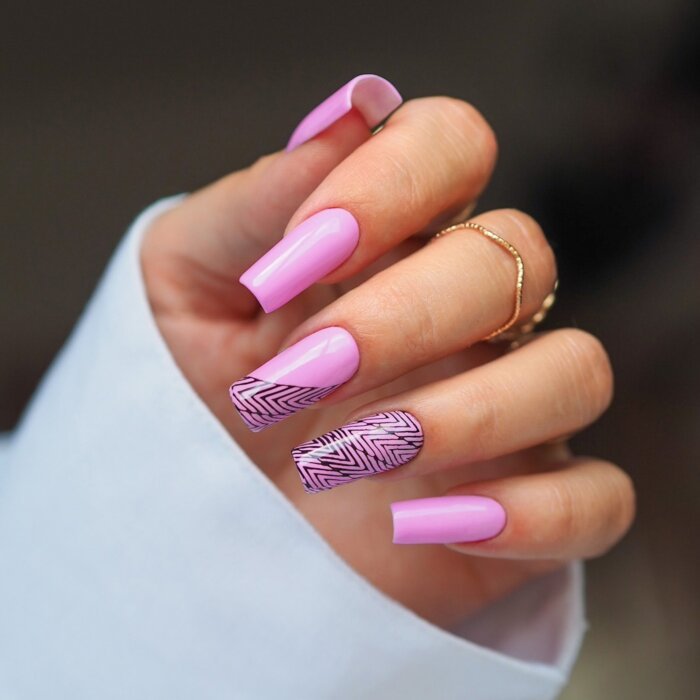
Geometric patterns on the nails? It's always a good solution! Now you can conjure them up in no time thanks to the Indigo stamping products. One template is as many as 12 different geometric patterns and an infinite number of nail art combinations. Discover their unique potential and see how they will change your work.
PROPERTIES
Dimensions: 60x120mm
Purpose: creating stamp decorations
Application onto: any type of nail plate
CARE TIPS
- Clean the template gently with a cotton pad soaked in Nail Polish Remover.
- If you use gels for stamping, reach for Wipe Off Cleaner.
- If the gel hardens on the surface of the template, you can cover the affected area with cotton pads soaked in a Remover for a few minutes, then clean the plate again with Wipe Off Cleaner. You can also soak the plate in warm water and use a wooden stick to gently remove the hardened gel from the nooks and crannies. Attention! Scratching the surface too hard with a stick or other tool can cause scratches that can be visible on the transferred patterns and destroy the decoration effect.
Product attributes
| Application for | any type of nail plate |
|---|---|
| Purpose | making stamped patterns |
Benefits
- Laser engraved metal sheet
- 12 geometrical designs
Application tips
- Prepare the nail surface for stamping:
GEL POLISH MANICURE
Cover the surface with a matte top coat or buff it with a 280 grit buffer and clean it thoroughly with a cotton pad soaked in Cleaner 1.
GEL MANICURE
After filing, cover the surface with a matte top coat or buff it with a 280 grit buffer and clean thoroughly with a cotton pad soaked in Cleaner 1.
CLASSIC MANICURE
Wait until the colour layer is completely dry.
- Choose a pattern from the template plate and cover it generously with the stamping varnish. You don’t have to cover the whole design with polish - it’s enough to cover half.
- Reach for a scraper and with a quick, decisive movement, scrape off the excess varnish from the plate. Pay attention to which side of the scraper you are working with. Always use the slanted side to drag the product across.
- Remember, speed matters in the stamping process! You can't wait for the varnish to dry on the plate.
- Press the stamper to the polish covered plate immediately and transfer the design onto the nail plate at a 45-degree angle - not perpendicularly. The pressure of the stamp on the plate should be gentle, in a semi-circular motion. Do not press the stamp with force, because the pattern will not transfer!
- When the pattern dries, protect it with a selected top and cure it in the lamp (gel polish and gel manicure) or cover it with a top coat (classic manicure).
ATTENTION! Never wipe the stamper or scrapper with Cleaner 1! It can permanently damage the surface of the tools and have an adverse effect on stamping quality. Sticky tape, a nail extension stencil or a lint roller will work best to clean off the stamper. As a last resort, you can gently clean the surface with the Wipe Off cleaner.
Responsible Person
Indigo Nails sp. z o.o.
Recently viewed products


