Princess Don’t Worry be Elsa - 3 G
-

Secured payment Safe online transactions
-

Fast shipping Delivery up to 4 working days
Table of contents
Description
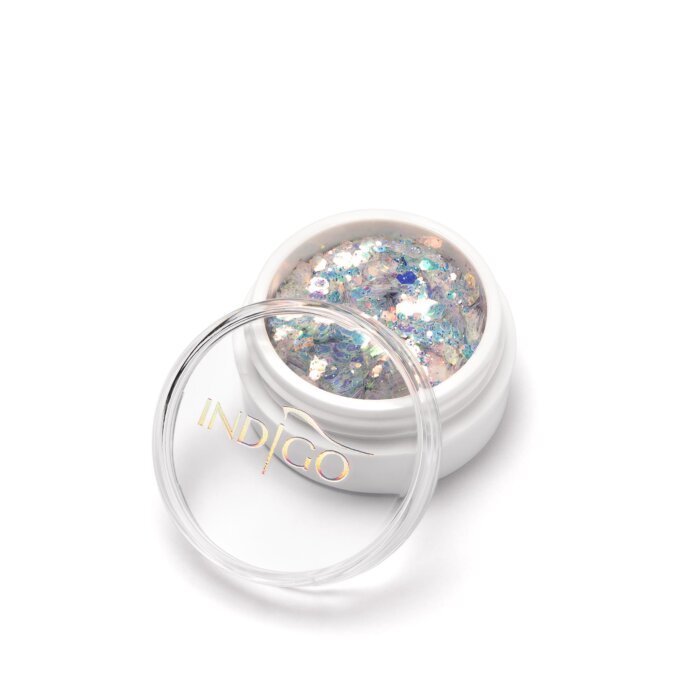
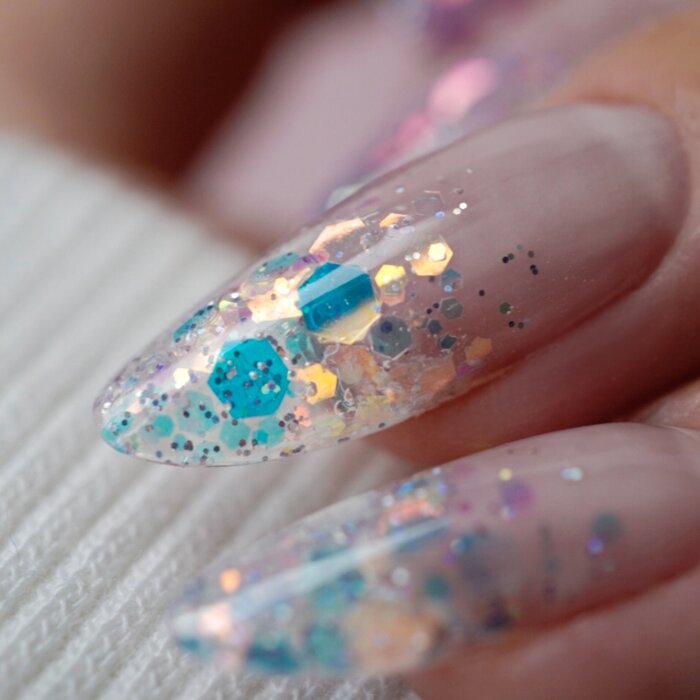
Are you looking for decorations that will make you feel like a fairy tale princess? Reach for shiny, multicoloured Princess Don't Worry Be Elsa particles with gold/holo reflections and create a subtle look full of shine.
Product attributes
| Consistency | loose product |
|---|
Benefits
● Easy to apply - easily embed in an uncured product.
● Shapes of various sizes ensure a delightful end result.
● The particles add shine to the nails.
● Universal decorations can be used for both subtle and more vivid designs.
Application tips
Under top coat styling:
- Create any design (gel polish, gel, acrylic, acrylic gel).
- Before applying a gel top coat, cover the nail with a thin layer of Effect Base or Protein Base and apply the selected Princess effect on it, arranging it into a pattern.
- Cure the base together with the effect in the lamp for 30 seconds.
- Secure the particles with a top coat - Wet Look works best. Apply 1 thicker layer and cure for 60 seconds in the MultiLed lamp or two thinner layers, curing each for 30 seconds.
- Wait a moment after removing the hand from the lamp before carefully removing the sticky layer with a cotton pad soaked in the Shea Supershine Effect cleaner.
Princess Design:
- Start by washing and disinfecting the hands (yours and the client’s).
- Push the cuticles up with a cuticle pusher or a stick and tidy them up with a selected e-file bit; for example the Cuticle no.9 bit.
- Prepare the natural nail plate with a 180 grit file, degrease it with Cleaner No. 1 and apply an appropriate primer.
- Rub the Protein Base into the nail plate with a brush and cure for 30 seconds in the MultiLed lamp.
- Put on the template and build a base structure using a selected gel, e.g. Self Leveling Porcelain 110 and cure it for 30 seconds in the lamp.
- Spread a thin layer of gel across the nail and the base structure but do not cure.
- Apply the selected Princess effect onto the wet gel in such a way that its amount concentrates around the cuticles and gradually disappears approximately half way down the natural nail.
- Cure the gel with particles in the MultiLed lamp for 30 seconds.
- Remove the template and, applying a larger portion of gel, spread it on the bottom of the nail in such a way as to cover only up to the lower border of the particles shading the gel in this area. Remember to keep the correct structure of the nail.
- Cure in the MultiLed lamp for 30 to 60 seconds - depending on the thickness of the layer.
- Cover the effect particles and build the rest of the nail around the cuticles with a transparent gel, e.g. Self Leveling Clear 120 and cure it in the MultiLed lamp for 30 seconds.
- Finalise the shape of the nail using a 100/180 grit file.
- Clean the nail with a soft brush and the Wipe Off cleaner, then cover with any Top Coat, e.g. Tip Top and cure in the MultiLed lamp for 30 seconds.
Pro tips:
- When styling Princess Nails, place only smaller particles right next to the cuticles - this way you will avoid air pockets and ensure a smoother and thinner finish around the cuticles.
- If you are doing a sparkly design using acrylic, you can mix the particles with a transparent acrylic in a separate jar. This will speed up the time of application of the effect onto the nail.
- If you are doing a sparkly design using a gel, you can mix the particles with a transparent gel in a separate jar. This will speed up the time of application of the effect onto the nail.
Responsible Person
Indigo Nails sp. z o.o.
Recently viewed products


