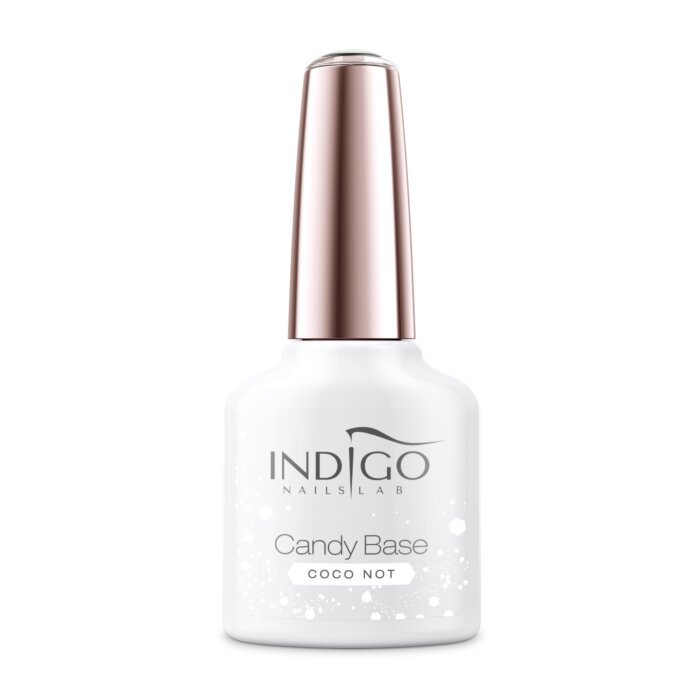
Candy Base Coco Not - 7 ML
-

Cruelty Free
-

Secured payments All Payments are secured and trusted
-

Free delivery on all orders of £45 or more. T&Cs apply.
Table of contents
Description
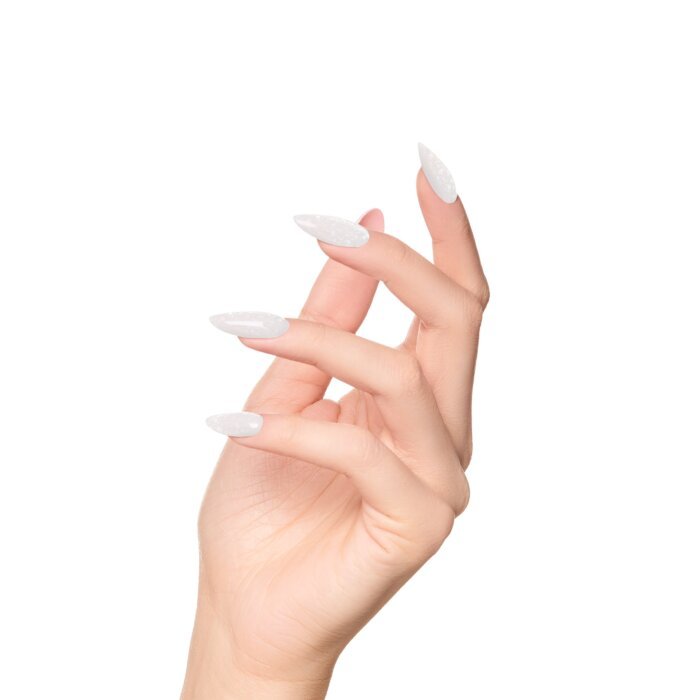
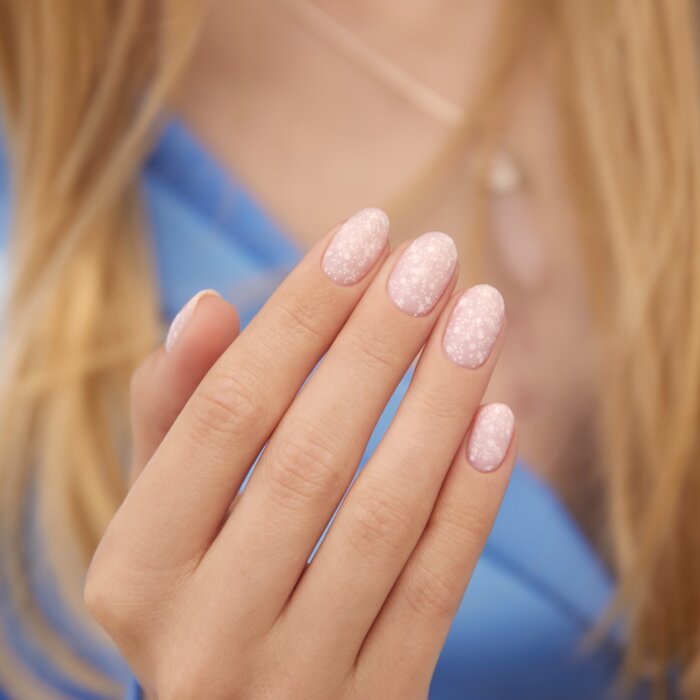
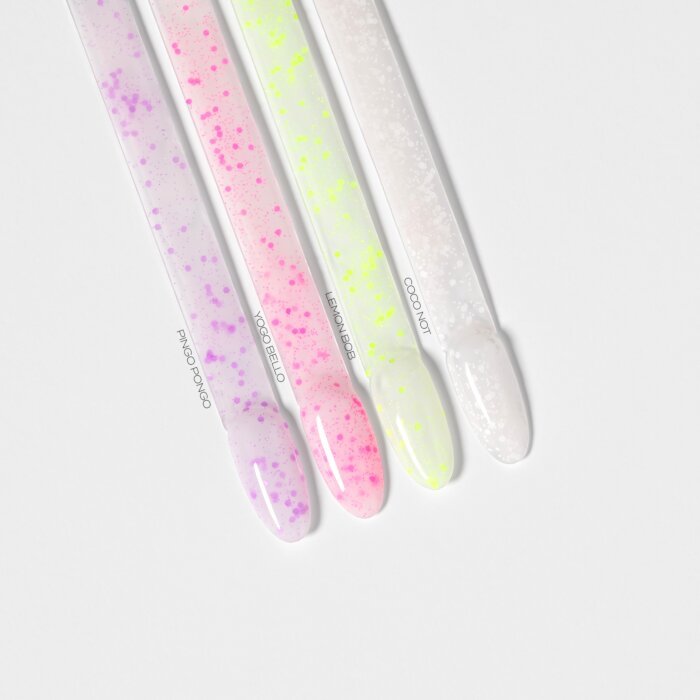
Marvel at the subtle glow and daintiness of white hexagons, enclosed in a milky gel base. Discover the way to sweet, tempting nails without complicated techniques and unnecessary additions. Candy Base Coco Not - expresses more than a thousand words.
CURING TIME
| Type of lamp | Curing time thin layer | Curing time overlay |
|---|---|---|
|
MULTILED Lamp 36 W |
30s | 60-90s |
Product attributes
| Soluble in remover? | yes |
|---|---|
| Consistency | medium density |
| Dispersion layer | current |
Benefits
- Allows you to get the "wow" effect without much work and application of a large number of different products;
- Has a medium-thick consistency that facilitates application and minimises the risk of flooding the cuticles;
- Ensures comfort of work without air pockets;
- Enables overlaying a perfect C-curve and delicate extension of the natural nail plate (past the fingertip);
- Creates a layer that strengthens nails and increases their resistance to mechanical damage.
Application tips
- Remember to disinfect the hands first (yours and your clients’). Put on gloves, then assess the condition of your client’s hands and nails and check whether there are any contraindications to the procedure.
- Push back the cuticles (using a cuticle pusher or a wooden stick) and remove them with an e-file bit (e.g. Cuticle 9).
- Make sure to matt the nail plate gently but evenly using a 100/180 grit buffer and remove any dust with a soft brush.
- Soak a lint-free cotton pad in the Classic Cleaner and thoroughly degrease the nail plate.
- Apply an appropriate primer - 90% of the time it will be the Acid Free Primer. For a more demanding nail plate, use an Acid Primer.
- Regardless of the chosen product, apply it in a minimal amount and only onto the natural nail plate, without touching the cuticles.
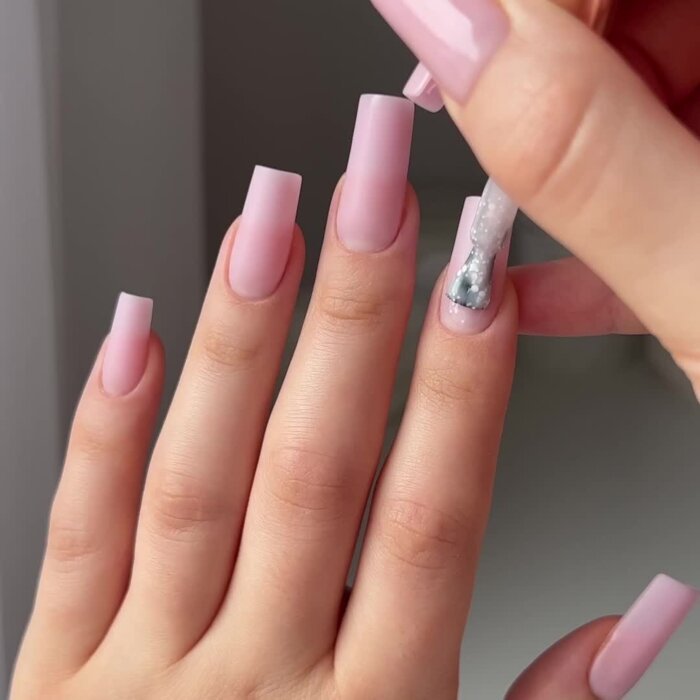
- Apply a thin layer of a selected gel polish base and cure it for 30 seconds in the Multi LED lamp.
- If the nails are weak or naturally flat, you can apply two building layers of base coat to strengthen the nails.
- Cure a thicker layer of base in the Multi LED lamp for 60 seconds.
- If the surface of the base is even, you can remove the sticky layer with the Shea Super Shine Cleaner after waiting a minute, to enjoy the satin finish of the base.
- If the surface of the base requires filing, remove the sticky layer from the nails with a cotton pad soaked in the Wipe Off Cleaner.
- Use a 100/180 grit file or a buffer of the same grit to smooth out the surface of the base.
- Remove the dust with a soft brush and clean the surface again with the classic Cleaner or the Wipe Off Cleaner.
- At this stage, you can finish the styling off with your favourite top coat.
- You can also apply a coloured gel polish to the prepared surface.
- Apply the first, thin layer of the selected gel polish and cure it in the Multi LED lamp for 30 seconds.
- Apply the second layer of colour and cure in the Multi Led lamp for 30 seconds.
- To perfectly finish your styling, choose an appropriate top coat (e.g. Tip Top or Wet Look).
- Cure the top coat for 30-60 seconds in the Multi LED lamp.
- Wait approximately 1 minute after removing the hand from the lamp.
- If you have chosen a top coat that doesn’t leave a sticky layer after curing, choose a protein serum, keratin shea elixir or your favourite cream to finish off the styling.
- If you used a top coat with a sticky layer, wipe each nail off with a lint-free cotton pad soaked in the Shea Super Shine Effect Cleaner.
- Do you want the styling to be even more shiny? Polish the finished nails with a dry cotton pad.
The styling is READY!
Composition
Di-HEMA Trimethylhexyl Dicarbamate, Hydroxypropyl Methacrylate, Polyethylene Terephthalate, Ethyl Trimethylbenzoyl Phenylphosphinate, Silica, Cellulose Acetate Butyrate, Bis-HEA Poly(1,4-Butanediol)-9/IPDI Copolymer, BHT, Epoxy Resin +/- CI 15880, CI 16035, CI 19140, CI 77491, CI 77499, CI 77891, CI 77007Warnings
For professional use only. Avoid skin contact. Read directions for use carefully. Keep out of reach of children. In case of contact with eyes, rinse with plenty of water and seek medical advice. May cause skin and eyes irritation. Avoid exposure to dust. Can cause an allergic reaction.Responsible Person
Indigo Nails sp. z o.o.
Recently viewed products


